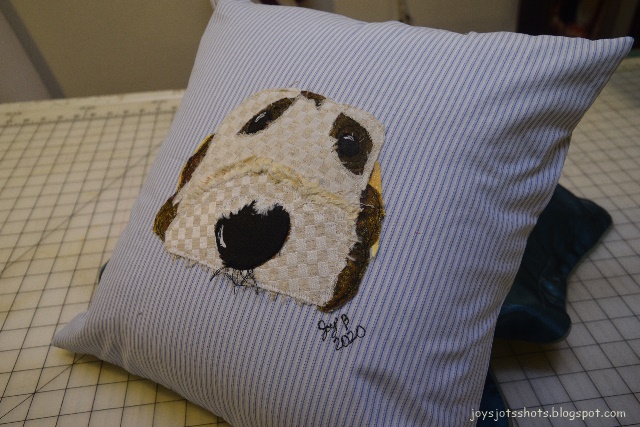
You may have seen the Fabric Collage Portrait of Max which was my first try at making such a piece other than simple pictures for cards.
The next one I made was of Tyler's dog. For Max I focused on fabrics that provided shade and depth.
For Tyler's Dog I focused on fabric that would show up his furry character. This tutorial talks about the features of fabric to help the focus of the collage.
******************
Tuesday Tutorial
******************
Of course look for fabrics of the color needed. Then in this case for a furry feature, I chose fabrics that raveled a lot right out of the box.
More snips and brushing to cause raveling. Lots of experimenting and trial and error.
(Pieces with the freezer paper still attached to put all pieces back in place
on top of iron on interfacing.)
Layers are another way to add a bit of depth and different colors of "fur."
After stitching, brush some more. An old toothbrush works fine.
As free motion stitching is done, be sure to work around the loose fibers.
Notice how the hairs under the nose were added.
A piece of the black was raveled and placed under the nose
and stitched in place.
Tyler's Dog
See, he does have black hairs under his nose.
Very neatly clipped I might add.
You might also be interested in checking out my:


No comments:
Post a Comment
Have a JOYful day!
Leave a comment or an email if you like.
I will enJOY either.
Please LEAVE YOUR EMAIL ADDRESS if you need a reply.