Tuesday, June 29, 2021

Tuesday Tutorial ~ Faster Way to Square Half Square Triangle


     If you eliminate 2 steps in squaring a half square triangle, will you save time? Of course you will! 

   Then what if you eliminate 3 steps and just cut once to square?
    
    Here's how!


Recently, I was given a  pile of triangles.
I normally make my half square triangles (HSTs)
in another way.
Looking back over my Quilt Blocks page
I found these techniques for makine HSTs @
 

Quilt Shot Block #97~ Double X 

Quilt Shot Block #78 ~ Colorado 

Quilt Shot Block #77 ~ Shoo Fly

 Quilt Shot Block #68 ~ Missouri Star

 Quilt Shot Block #58 ~ Woven Friendship Star

 Quilt Shot Block #106~ Paper Template Half Square Triangles


I would check the squares on all four sides,
and sometimes have to trim all four sides. 
That's FOUR steps!
Then while I happened to be researching rulers the other day
(for my wish list)
I saw a ruler made to square half square triangles by using the bias line of the square.
I found 2 of my smaller square rulers have this line.
I didn't have a right square triangle ruler which might would work as well?
So I gave both of these a try.

 
Just lay the bias line on your stitching line and trim the 2 sides.
No rotating around.
Just up and over.
The 6 inch ruler with rotary cutter worked well at the cutting table
in assembly line fashion.
 
When I HAD to sit down,
I found due to the small size of 2½ inches,
I was able to hold the ruler on the bias stitched line
and trim with my clippers 
around the 2 edges, if needed.
Because, I DISCOVERED
Most of the time I could align the stitching line 
on the bias line
AND 
line up the upper edge so
all I needed was
to trim ONE side!
ZIP, Done!

 
Dad always said,
"You spend more time finding a faster way."


Saturday, June 26, 2021

Quilt Shot Block 136~ Patriotic Heart Yard Flag


This block was designed by 

She has a You Tube video with all the measurements listed
and a great tutorial for making this heart block.
Her heart block is surrounded by half square triangles.
I just used strips.

This is another piece for the "Scraps Book Page"
as the entire banner including the back was made from fabric scraps,
given to me or found at yard sales.

Her directions are very easy to follow.
Beth said she cut up her strips as she sewed the block.
I too just cut up a bunch of strips,
but had a slightly different idea.

As I looked over the measurements of the strips,
I noticed they were each basically 1/2 inch shorter than the previous strip.
So using my cutting mat measurement tool and heat sensitive pin, I marked each end at 1/2 inch.

Then I laid the end on that mark to start sewing.

Then as the end came up on the machine bed,
I folded back the strip to the black mark
which you can barely see here,
and cut the strip on the fold.


My last piece didn't turn out to be 2½ inches, but rather 3 inches.
I marked the center of that 3 inch piece
and cut from that point to
the bottom corner of the longest red strip (as shown above.)

Then I added the bottom strip, and the side strip following the directional pattern of the fabric.
Finally I added the flag bar strip at the top,
and the backing.  
You can find the directions for the Flag Bar Strip HERE.


Happy Fourth of July to all my American friends.


Friday, June 25, 2021

Fun Friday ~ Wedding Gift Bag

Anytime using scrap fabrics is a fun time.
I usually make gift bags for gift giving.
 
As this bag was being made,
I thought I should start a page called 
"Scraps Book"
?????
It would include just about all my sewing and quilting projects though.
Maybe a book idea some day?
Fun!


Monday, June 21, 2021

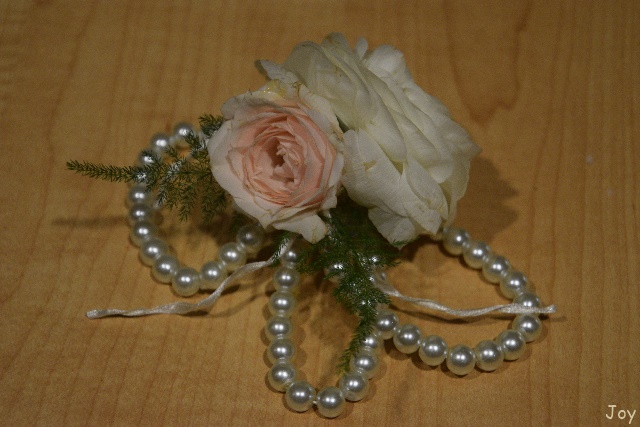
Monday Memory 122~ Wedding Vows Spoken


Last Saturday my beautiful grand daughter finally got to say her wedding vows to a wonderful man.  This day was put off for a full year. She had wanted the date to be 6-20-2020.  It was sad to have to postpone, but well worth not having to wear masks.

A beautiful outdoor wedding with beautiful summer weather.


Saturday, June 19, 2021

Quilt Shot 135 ~The "Bridges" Quilt


Bridges
Named after the family's namesake
with the symbols in the quilt

This quilt was made from scraps I was given.
My favorite tool for putting the triangles through the machine,
came from a restaurant.

A VERY handy tool when you've got a lot of chain piecing to cut.
Cutting Gizmo
Mr. G discovered it on a fabric store trip.
Found out if you can lay that bias on the ruler,
you only need to do 2 cuts.

The only thing matched was to make sure 2 different fabrics were used.


Turned out I like holding the ruler and piece like this,
and using the snippers to trim the 2 edges.

Then I felt like an artist just laying out the pieces to see what I design I could find.
Lines that connected reminded me of bridges.
The family's last name.


My symbols:
Straight pin is the upper left
Safety pin is lower left.


The backing was in the scrap bag as well.


The big Baby Lock, just skipped too many quilting stitches.
Little Brother always comes to the rescue.
He was being used for the Christian Academy sewing lessons each week,
so I didn't have the energy to carry the machine up and down the stairs.
Just did this job on the kitchen table.


I don't roll my binding like many quilters do.
Instead I fold in an accordion fashion and
lay in the drawer to my right.
I don't have to stop and unroll.
Presented to the Daddy the same day that Hobby Horse was given.


I always try to make a bag or pillow case to present the quilt,
if there is enough leftover fabric.
Hope the little ones enjoy Bridges.