Friday, December 29, 2023

Fun Fri~ Christmas Gift Tags


Made about 30 of them
 
Tutorial coming Tuesday.
A great recycling project.
Everything used are things a person normally throws away.

Wednesday, December 13, 2023

Tuesday, December 12, 2023

Tues Tutorial Tip~ Making Sewing Machine Reference Charts

When you have to stop a project to decide on a special stitch and it's settings,
 you might as well take a few more minutes 
to grab scraps of fabric to
 make a Reference Chart. 
(I haven't had time to stop and make one
 for ALL the stitches
like I did for my other machines. 
Links below)
Usually scraps from the project
 are used so stitches come out exactly
 as they will be on the project. 
Most future projects
 will probably be of the same types of fabric: cotton or cotton blends,
and the same type of thread.
You might consider making the samples
 about the size of a large book page,
 so they can be put together 
and have an easy book to flip through. 
Or, maybe you just want to pile them
 in one stack on your nearby shelf?
 
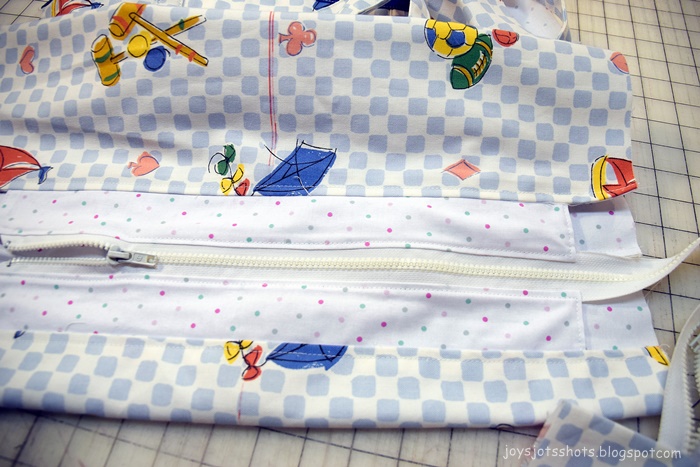
On this part of the sample above,
 the name of the quilt the stitch was used is referred. 
This was the piece that started this sample.
 Then other variations were added for possible future use.
Thus becoming a "Reference Chart" for my Emmie 7 machine.

The note of App is the location on the machine for the stitch.

Hope this tip saves you a bit of time in the future.
 
Here are other Samplers for other machines
referred to by their given name:
 

*Sorry, I had to take timeout for a week
to have COVID.  Geesh, too busy for timeouts.
However, blessed not near as bad and hard as Delta 2 years ago
when it took Mr. G's life.
Still miss him so.


Tuesday, December 5, 2023

Tues Tutorial~ Nana Bag

     Every new Nana needs a special bag, ready to go with all the necessities that might be needed wherever they might go.  That includes little toys, trinkets and snacks to entertain the special little one.  It's always a good feeling, when Nana arrives where the little one might be and the first thing that happens is they go for the Nana bag to look for surprises.
  I also made one of these for a friend at church that just likes to treat little ones with special toys, games and snacks.
 
Here was my idea for my daughter, a first time Nana, and kid loving friend.


*****************
Tuesday Tutorial
******************
 
Fabric piece needs to be at least 42 inches wide.
Cut large piece to 22x42 inches.
Lining is also 22x42.
19x14"

Stack the new cut pieces, right sides together as shown above.


Change to 12+ inches
Do both

 
22x12


Main Piece first cut
Fold to find center lines


Add zipper
To make a recessed zipper you can first follow a video like this one
starting at the 25:28 time mark @ Sew Many Creations.
 

After the zipper was set in like above,
before it was "inset" the side seams were sewn.
Match top edges
All the pockets
The bottom section

Notice below where the opening was left
for turning inside out.
Then turn right side out.

Measure from seam to zipper to determine how much inset is needed.
The rule is about whatever this width.
With an erasable marking tool, 
a continuous line was marked at 2.5 inches.
 
The outer fabric was folded on that line
and stitched 1/4 inch from the folded edge
all around the bag.
(The red line shown, is the center line of the bag
that had not been removed)

Next Box the Corners of the lining and outer bag.
Turn the bag wrong side out again.
5 inch corner was marked on corner of outer bag.

 Notice the 2.5 inch midpoint is on the seam line.
 
Once again turn the bag right side out,
but don't tuck the lining back in.
Go the the open corner
press in to meet the seam lines.

Edge stitch the seam closed

Now pinch the corner like you normally do when boxing a corner.
 

With the side seam marked 
and the edge stitched seam being the center,
continue to poke the point in
until you have a 5 inch line of opening.
Edge stitch along this 5 inch opening to close it.
Tuck and sew the other lining corner the same way.

 
Finally, finish the zipper
I was too chicken to cut off this jacket size zipper
I wanted the entire bag to be together
before I decided where to cut it off.
 You see the clip with the "to be used for tab" fabric on the end
to keep the zip from accidentally coming off.
This fabric was approximately 2.5 by 4.5 inches.
I just eyed it according to the size of this large zipper.
Double fold the end for future closure.

Fold the fabric as you see above 
with the right side of fabric next to the zipper.
Notice the stitch line is marked about 1 inch from the end.
 
After stitching,
turn the fabric right side out
Fold over toward the zipper 
turning the end under
and stitching around the edge.


Finally, after this extensive post
months of putting off the finish of this project
DRUM ROLL please


I actually made 2 bags.
The one above was for my daughter,
the one below for another "daughter" by another Mother.
Don't we all have one of those lovely people?

I like the outer pockets for dumping in the cell phone.
It could also hold a quick bottle or snack if need.


The strap is long enough to hang over shoulder
so you can carry the little one.
 
I hope you find this rather lengthy tutorial
easy to follow.