Call this a "Memory Monday." This is an original post I made for a guest post back in 2012, my first. The website I made the post for has changed and no longer offers this tutorial. In 2014, I reposted the directions trying to improve on them. This post has been lying around in my "draft" folder, and thought today why not go ahead and post it. Have I changed how I give directions? See what you think.
Be careful, these things are so easy to make and have so many uses, you might find yourself making several from you scrap stash.
*****************************
Hi, I'm Joy from
Joy's Jots, Shots & Whatnots, a blog where I just like to jot & provide shots about whatnots. I'm so thrilled to be a guest at
Whimsy Couture. This is my first guest feature and I feel so honored! I truly HOPE you enJOY my Easy, Automatically Lined Pouch tutorial.

One of the several journals I keep, and that includes my blog, is a sewing journal. About 3 years ago, while watching "Sewing with Nancy" I jotted down this idea she shared. I think it was a coupon holder but I use it for whatever the need and make them the size to suit. However, I do give you dimensions here.
This project is SO easy that it could be a beginning project for anyone that needs to practice measuring, cutting, sewing a straight seam and turning corners. It only involves one seam. You could do layered cutting and make several in very little time. It will probably take you longer to look at these directions than to make one.
***************************
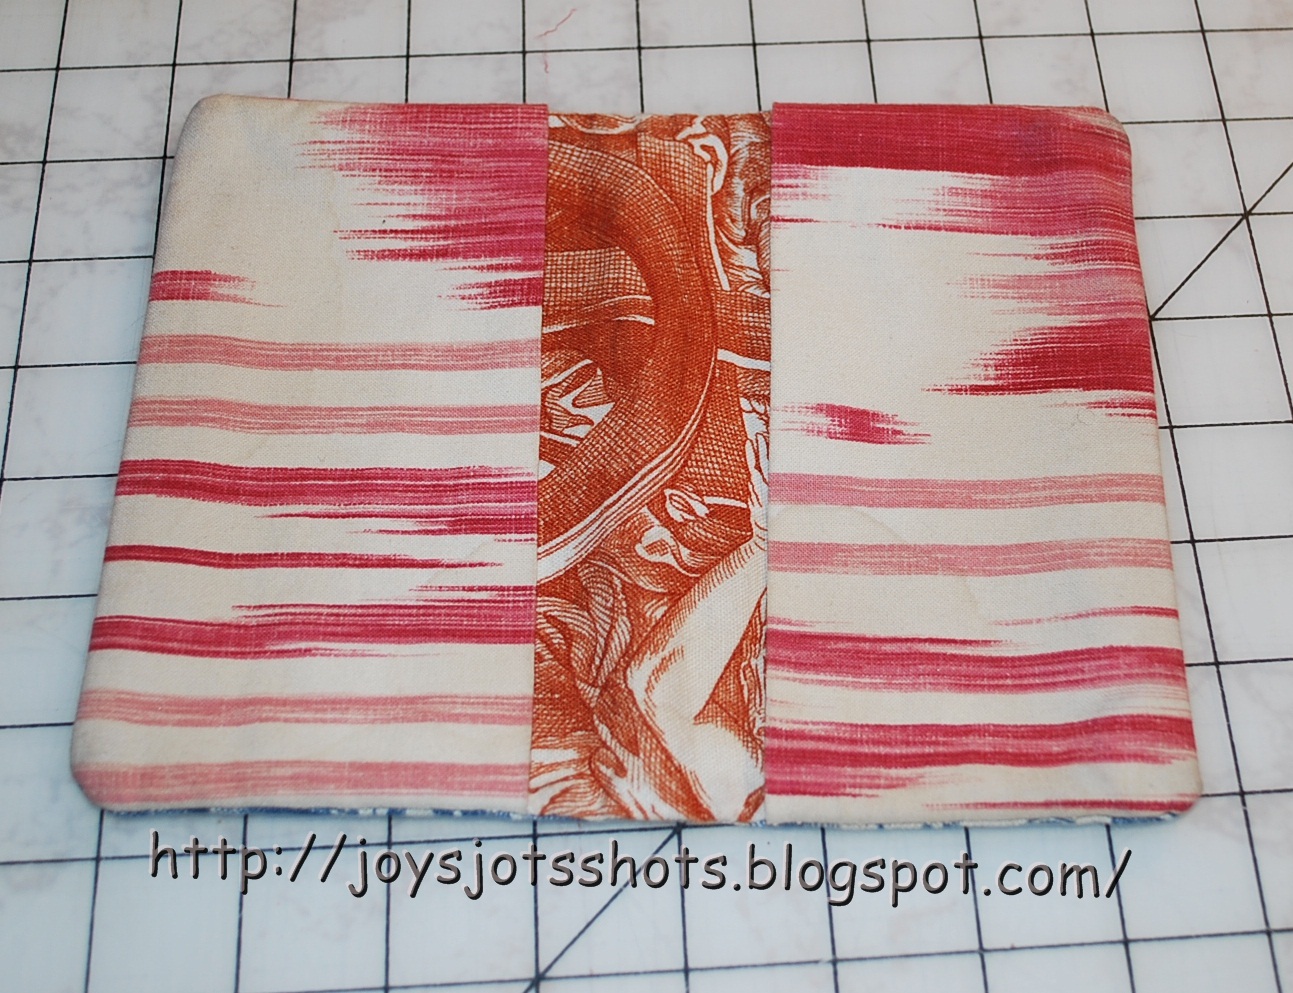
To make this less confusing, I'm using 3 different fabrics. I like the looks of it as well and a great way to use scraps. I'm using curtain scraps a friend gave me.
 |
| You will have a total of 4 pieces of fabric. |
 |
| Fold each 'B' section in half. |
 |
| Lay on top of right side of 'A' matching corners. |
 |
| Lay 'C' on top of 'B' right sides together, 1 inch from side edges. The end edges meet. |
 |
| Start sewing anywhere you like. |
 |
| Pivot around corners, meaning leave needle in, raise pressure foot, turn fabric. |
 |
| Check to make sure all edges are meeting. |
 |
| All around, sewing finished! |
 |
| Trim corners. |
 |
| Ready to turn right side out. | |
|
 |
| Flip 'C' right side out. |
 |
| Flip both 'B' sections out. |
|
 |
| Poke out the corners, give it a press if you like & wa, la, done! |
|
|
 |
| Automatically lined! |
 |
| I use mine as a purse organizer. |
|
Here is the one I made over a year ago, serged. Turned wrong side out, you can see how well the raw edges of the lining lasted.
I hope you are inspired by this tutorial and will have time to stop by my blog and check it out. Even better, please become a follower and don't miss one single upcoming whatnot.


I like this. So easy and a great way to use up all those scraps of fabric.
ReplyDeleteI want to try this out. Thanks for the thorough instructions!
ReplyDeleteVery interesting method. I never saw the like before. You had me guessing with your sentence "It only involves one seam." Very clever. :-)
ReplyDeletelove it, gotta show this to my daughter our resident sewer in the making! thanks for sharing on craft schooling Sunday.
ReplyDeleteOooh, I like this very much! Thanks for thinking to revisit this post!
ReplyDeleteI came across this whilst looking for something else and I am so glad I did! I made one in a very short while and I am amazed at how easy it is. Thank you!
ReplyDeleteGlad you found it. You are welcome! Come back anytime. Do you have a blog I can visit?
ReplyDelete