
 My church needed Welcome Flags to replace the sun faded flags we had. I made 2 flags and they both were free because they were made from scraps people had given me, or I had leftover from another project.
 ******************
Tuesday Tutorial
******************


The backing was then used as a pattern to trim the collage piece to size.


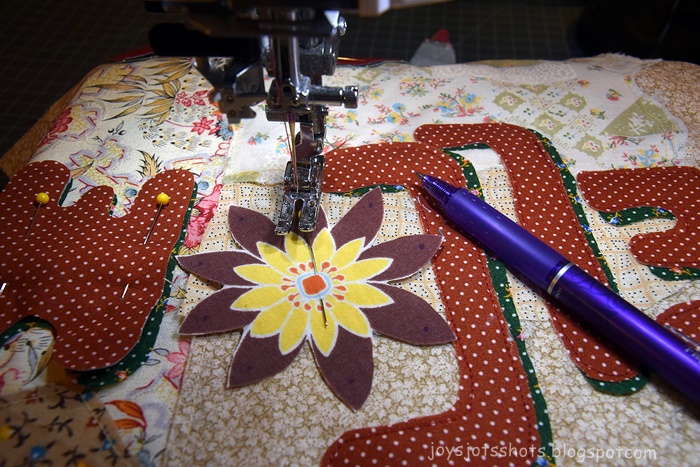
Raw edge stitch around all pieces.

Only need to stitch around top layer of letters.

and stitch across what will be the top of the flag.

Unfold.
Press open seam.
Mark as shown above.
2 inches from each side of seam
Then cut in 1/2 inch.


Pin if need
Stitch along folded edge as shown below.


Pin all around except for the area turned under.
The turned under area is the opening for the flag rod.

You will NOT stitch in this 6 inch area.
The flag pole opening is not large enough to turn inside out.
I put double pins to remind me where not to stitch.

To finish making pole channel,
top stitch across 2 inches down from the top edge.
 Top stitch 1/4 inch from edge

Across the top
All around flag from bottom of pole channel opening
the the bottom of the channel on the other side.
Being sure to turn under the edge of the 6 inch opening.
The top stitching will close the 6 inch opening.


you see the greenery that Mr. G planted a few years back.
He does live on, even at church.

which I do like better.
So get your scraps out and make a FREE yard flag.
***************************
Shared @
Grammy's Grid- Thanks for the feature on #26!
Nice! I'm sure the people at your church will love them.
ReplyDeleteWhat a pretty flag! Love the material and the letters!! Thanks so much for linking up at #IMadeItMondayLinkParty 25. Pinned.
ReplyDeleteJoy, CONGRATS! Your post is FEATURED at #IMadeItMondayLinkParty 26.
ReplyDeleteWhat a great project! They look wonderful.
ReplyDelete