
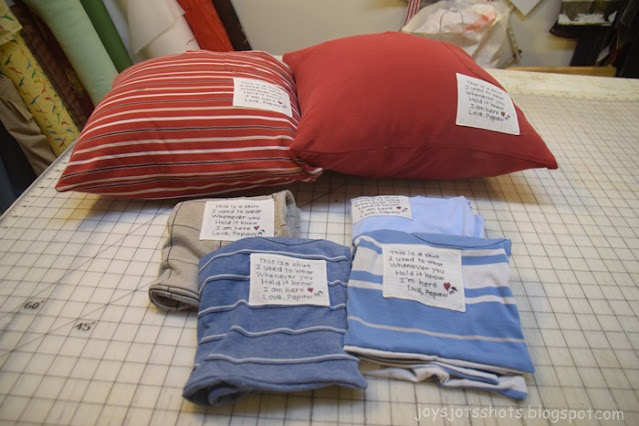
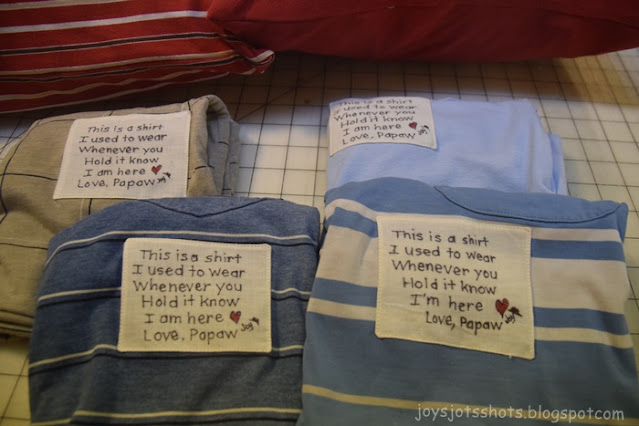
 Recently I posted the Memory Shirt Pillows made from knit polo shirts. The person that asked me to make them, wanted a label on them to remind her grand children who had worn the shirt.
*****************
Tuesday Tutorial
******************

I have found the ink in Sharpie pens doesn't wash out like
the Micron pens that lots of the quilting folks had recommended.
After seeing how much a Micron label that I had made for a quilt
had washed out,
I tried a very fine point Sharpie.
So far, it has worked great.

using the Comic Sans font
and decide the size I need.
Then print paper copies to trace
onto muslin or a fabric of choice.

Must remember to leave quarter inch seam allowance.
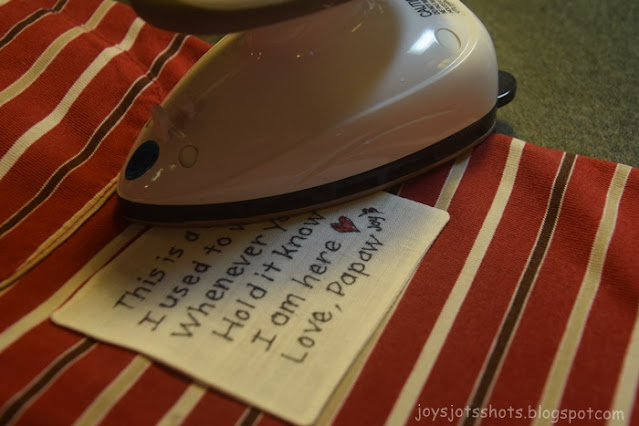
The iron on interfacing
is laid sticky side against the written side.
Then stitched around the edge.
Then stitched around the edge.

being careful not to cut through the label fabric.
Turn inside out through this slit
so the sticky side of the interfacing will appear.
Using fingers,
press around the edge and corners.
I had to use a pin to pull out the seam and corners.


Thus the reason for using iron on interfacing.
I don't have to use pins to hold the piece,
which can be bulky and harder to stitch flat.
Be sure to follow directions with the
interfacing for the amount of time to iron press the interfacing.


Stitch around the edge will hole it permanently.


This is the same method I used to make Quilt Labels.


This is the same method I used to make Quilt Labels.

Thank you for this! Another tutorial to add to my files for future reference.
ReplyDelete