For this very scrappy quilt, I ended up making up my process as I went. In education over the last 15 years, we've done this a lot and said we were building the plane as we flew it. I enJOY the creative feeling I get from this process. Sometimes it's serendipity, sometimes not. In many ways, I do like what turned out in a different way than what my goal intended. The goal here was to make a rugged baby's quilt.
Since I took a LOT of pictures, I'll break down this project into several posts.
Last fall a Cousin from Arkansas sent me scraps of fabric to make a quilt for our "Orphan's Quilting Project." In that box were several squares already cut. I studied them for a while trying to decide how to use them.
I could realize no theme of color and the variety of numbers didn't create a design. So, I dumped them all in a basket, and mixed them up.
I drew them out blindly 2 by 2 and stitched them in a continuous stitch (didn't cut them apart as I stitched them.) The only time I would throw one back in was if it was a duplicate or a repeat of one of the very previous piece.
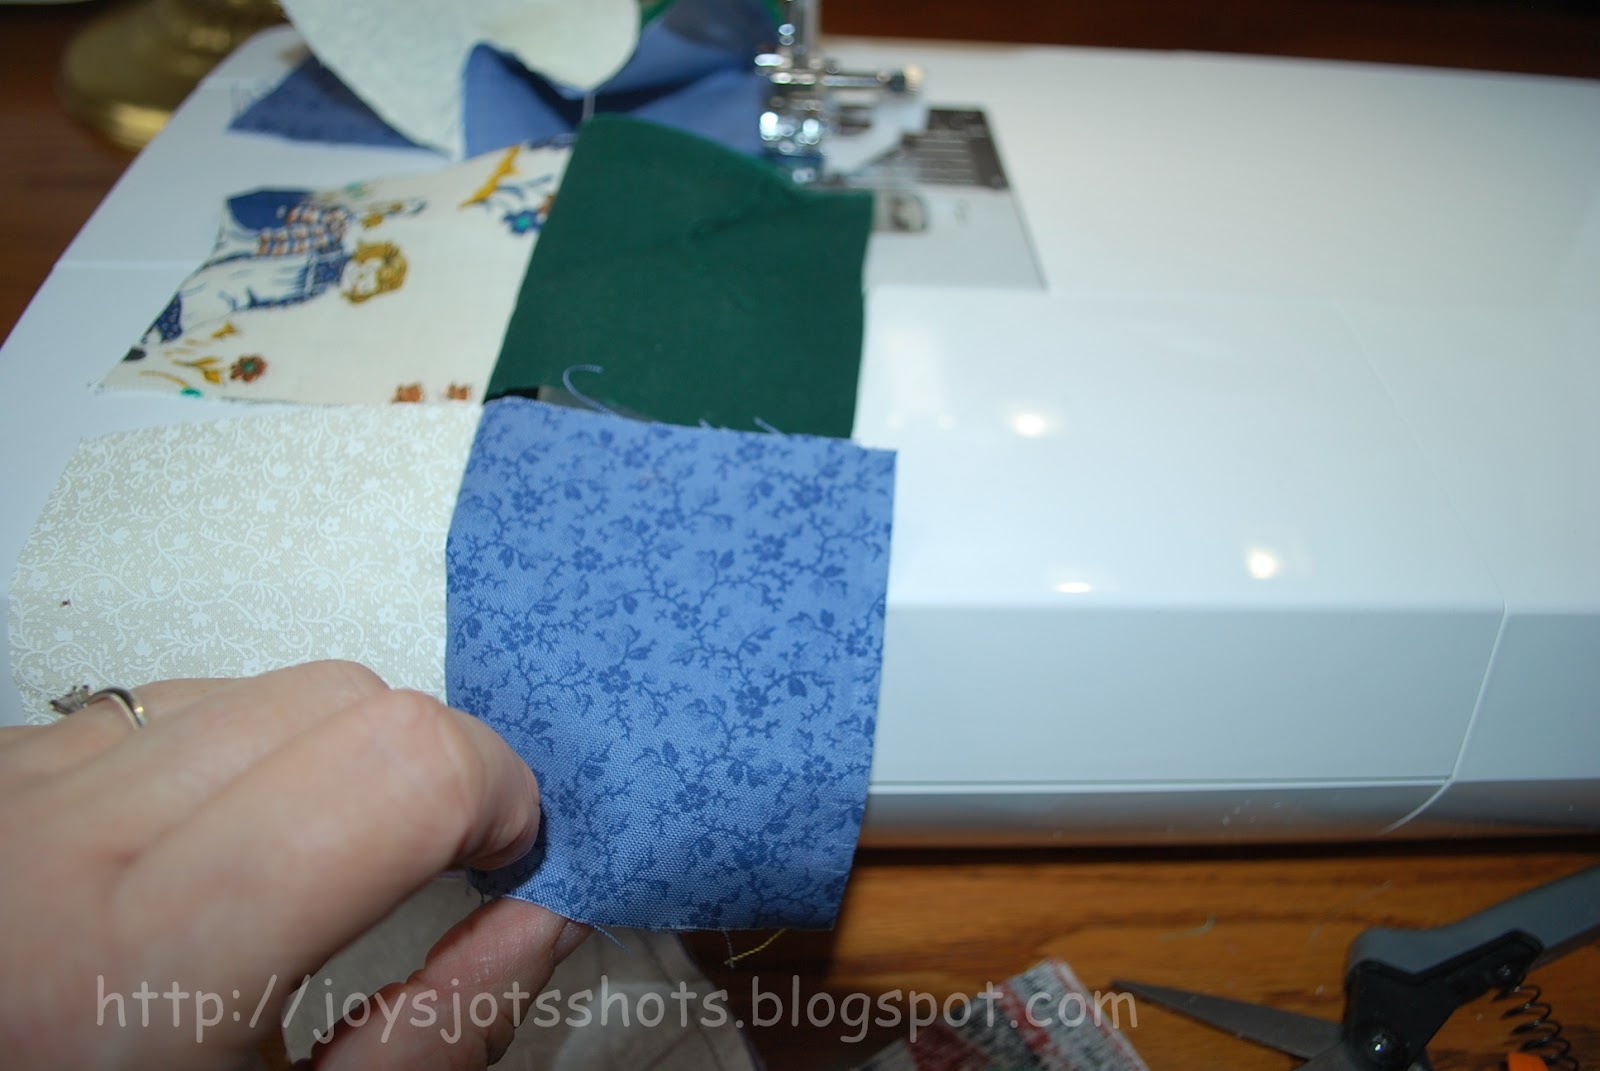
Next, I spread out the pairs, still not cut apart and stitched pairs together as they came in the row. As you can see, the pieces were put together as randomly as possible.
When you finish connecting the row of pairs, then you have a twisted mess!
Because now you have 2 sets of threads that haven't been snipped.
Since things are so twisted now and I can't lay anything flat to sew a seam, I decided to start snipping.
Do you think you know what the next step will be?
Be sure to check out all 3 parts of the post to get the entire tutorial.


You have far more patience than I, Joy, but I think this is going to look great! :)
ReplyDeleteSo far so good - keep up the great work! Can't wait to see your finished quilt!
ReplyDeleteFound you on Petite Hermine - would love for you to come by for a visit!
Ann @ Suburban Prairie Homemaker
www.suburbanprairiehomemaker.com
Can't wait to see how it turns out
ReplyDeleteI love that...and oh how I wish I could sew! Thanks for linking to Handmade Tuesdays.
ReplyDeleteLOVE your method of choosing the pattern - just chuck it in a basket and grab and sew!! Fabulous!Can't wait to see how this turns out!
ReplyDeleteThanks for linking to a Round Tuit!
Hope you have a fabulous week!
Jill @ Creating my way to Success
http://www.jembellish.blogspot.com/
I love these type of quilts.. since there is no pressure and you get rid of a ton of scraps. I do them in front of the TV since you don't have to pay close attention.
ReplyDeleteCan't wait to see how it comes out!
I'll bet this will be adorable! The one I am working on is denim scraps. Yay for you that the scraps were already cut! I find the cutting to be very tedious.....
ReplyDeleteYour method of choosing patterns should be patented. wouldn't want anyone to steal your idea, it sure worked out well. Love the scrappy quilts, and will be back for part 2. Thanks so much for sharing your creative inspiration at Sunday's Best.
ReplyDeleteLove this, and cannot wait to see how it turns out. I have several small lap quilts that I got from a rummage sale for a steal. I love them, but if I actually look at the fabric they are made of I know I NEVER would have looked twice in the store. Great way to just start going and not worry about being matchy, matchy or patterny.
ReplyDelete~Amy @ Permanent Kisses
I love this! I can't wait to see the finished project. I have a whole lot of fabric from my Grandmother, Mother, myself that I plan to make a scrappy quilt out of- I should probably just use the dump in a basket method like you did to make sure I don't drive myself crazy trying to make it "perfect". Have a great day!!
ReplyDeleteZoe
Part 2 and 3 have been posted. There you can see the end results.
ReplyDeleteI love how you mixed up all of your scraps for this quilt. Thanks for sharing at oopsey daisy!
ReplyDeleteThanks for sharing last week at Whimsy Wednesday. Hope you'll stop by tonight for another link party!
ReplyDeleteAmy@homehappyhome
Thank you for sharing how to make a quilt. Love seeing all the steps and looking forward to seeing the end project. Thanks for linking up at Sunday Blog Love, I hope you'll link up the next step wishing you a wonderful weekend!
ReplyDeleteHi Joy, I've featured your quilt today...
ReplyDeletehttp://threadingmyway.blogspot.com/2012/05/threading-your-way-features_13.html