

Wednesday, August 10, 2022

Tuesday, August 9, 2022
Tues Tutorial~ Upcycle Pants or Slacks to Bag

This year my church put together a 1 Day Super VBS. The theme was Jospeh: Pit to Palace. I was asked to try to come up with about 3 bags that would sit at a tent that would possibly hold "The Silver Cup." While I was looking through my
*****************
Tuesday Tips
******************

Remove the entire seam from crotch to hem.


or at least enough to go past the pockets.


 Fold to center.


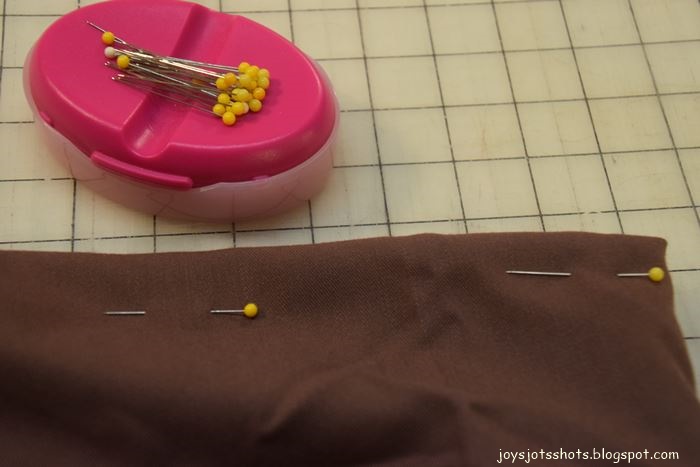
Then fold again to meet folded edges.
Top stitch both edges.


Here is the second one I made:


No. I did not remove pockets or zipper.
I did a tack stitch at top of zipper
to keep it closed.
Yes, these were Haggar Ladies' slacks.
Remember them?
Don't forget to pick out hems.

as it was sewn together in back
because back then it was designed
like men's pants
to make adjusting size easier.


Stitch along the bottom which is the hem areas.



Belt buckle placed and tacked
on each of the 4 seams.


The ornamental grasses came from beside the front door
of the church.
My Sweet Mr. G planted them a few years ago.
Such a "Sweet" memory.
****************
Linked to:
Friday, August 5, 2022
Fun Fri~ 1st House Bday Card for Other Grand Daughter

First, I like to sketch out the card
on a piece of paper the same size as the card.
For some, I need the picture in front of me.


I think this puts into my muscle memory
how large to cut pieces free hand
without a pattern.

I pull out baskets and bags of scraps.
Its easier for me to look through small clear bags
than 1 large box or bag.

and fitted on top of a piece of
embroidery stabilizer scrap cut to shape & size of card.
Then a background was stitched to stabilizer.


the front of the card.


but wading through my scraps
isn't as messy as
a bunch of paints,
but just as much fun.
Subscribe to:
Posts (Atom)