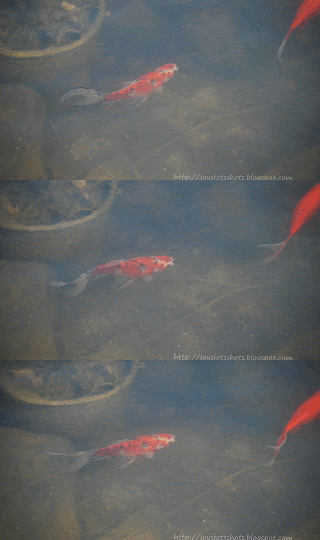

An animated GIF is actually 2 or more pictures put together to be presented one after another so as to look like the object is moving.
In trying to explain how to make the quilt block "Disappearing Nine Patch," I needed to show how I flipped sections of the block. I decided to make a gif to illustrate. That got me to finding out how to use GIMP, a free program I use instead of Photoshop, to do so. First they directed to resize pictures with GIMP. Doing that one at a time, took time. That's when I turned to Photoscape, also a free program. Please see the end of this post for more information about each program's free download.
*Use Photoscape to resize all the pictures at one time instead of one at a time with GIMP.
Please see my tutorial for resizing pictures.
Size all pictures 640 X something (let ratio tool do its job) with Photoscape. Write down resulting measurement (i.e. 640 x 480). (Remember if you are using Blogger, pictures less than 800 are NOT counted against your storage.)
* Open Gimp, File, New
*Change image size to match what you just wrote (for me-640 x 480) OK
*Now, right click on the background box and delete it (you are deleting that layer).
*Down size GIMP window to one side of your screen & open the folder holding pictures needed, down size that window to the other side of your screen.
* In Gimp- Open layers menu to show in toolbox (about the middle of the toolbox, is a left arrow to click on. If you've chosen the paintbrush tool, it's to the right of the word Painbrush).
* Choose add tab, Layers.)
This means all pictures transferred will appear in the Layers toolbox plus a background box.
*In the picture folder highlight all the pictures you need to animate. (either hold the ctrl key while you click on the pictures, or hold the shift key and click on the first picture, then click on the last picture which will highlight all in between)
*Drag the highlighted pictures to the bottom of the "Layers" toolbox.
*Drag pictures around to put them into the order you want them to play with the first being at the top and last at bottom if they aren't already in order.
*File, save as,
*type in name of file and after name type .gif (that's dot gif) hit the enter key (after you've chosen location to save). (I have to hit the "enter" key on my keyboard because I can't see the bottom of this window and it won't let me drag it up.)
*Save as animation, export (don't forget to choose the folder where you want to save it.)
*1000 milliseconds (or more). Uncheck loop forever if you like. Finally, click Save.
Now go to the folder where you saved your GIF and try it out!
Photoscape @ http://photoscape-free.com/?gclid=CKCY_umMmbkCFWpp7AodFVIA6A
I discovered Photoscape from Jamie over @ Mommy's Camera when I was looking for a way to watermark my shots. I also have tutorials that explain how to resize pictures for your blog so you don't use up your blog storage space.
GIMP @ http://www.gimp.org/downloads/ Someone told me about GIMP @ school just before I retired. I must say I don't miss Photoshop (& it's price) at all. GIMP works just fine.
*************************************
Sharing at several Linky Parties.
Thanks to the FREE programs:
possibly used for this post
GIMP for cropping & other digital effects


Oh thanks for this info Joy. I made a photo like this a couple of years ago but I'd forgotten how!!
ReplyDeleteI also wanted to let you know that I featured your cowboy shirts quilt on my round tuit post this week!
Round Tuit 171
Thanks again for linking up! Hope you have a great week!
Jill @ Creating my way to Success
Thank-you so much Jill for featuring the 7 Shirts Quilt. It's an honor.
DeleteI've never thought of using an animated GIF to explain a sewing technique. What a fabulous idea, especially for the visual learners like me!!! Thanks for sharing your detailed and easy to follow tutorial.
ReplyDeleteI've featured your tutorial today...
DeleteThank-you so much Pam! I really appreciate that.
DeleteI am impressed, I can not figure out any of these programs. I re size and crop everything in PicMonkey because it is fast, free and easy for me. I would love to learn a few of these programs. ~Diane
ReplyDeleteGood to know. Some evening I will have to give this a try.Thanks for the 411 and for linking it up to BeColorful.
ReplyDeletep