

Also seen on Freeneedle
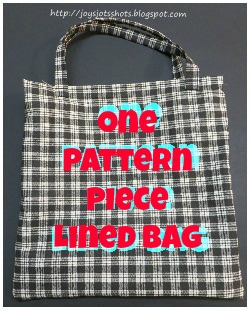
Recently, I started teaching a Wednesday Night Ladies' Class @ church. My plans for classes called for the Ladies needing paper & pencil along with their study book. So, I made some bags to carry all the supplies.
When making several of something, I always want to streamline the process. My Dad always said, "You spend more time figuring out a faster way to do something than if you'd gone ahead and done it." Funny thing was, he gave me that time.
To streamline this process, I created a lined bag from one main pattern piece. Hope you enJOY.
Make any size you like.
You don't have to follow these measurements.
Open bag/lining piece.
If you want to add pockets inside,
cut one more piece.
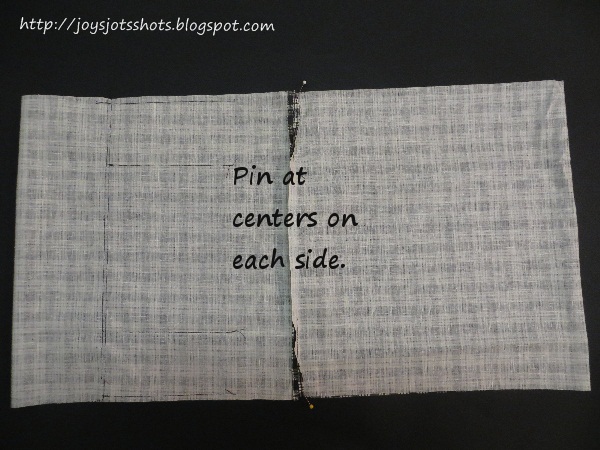
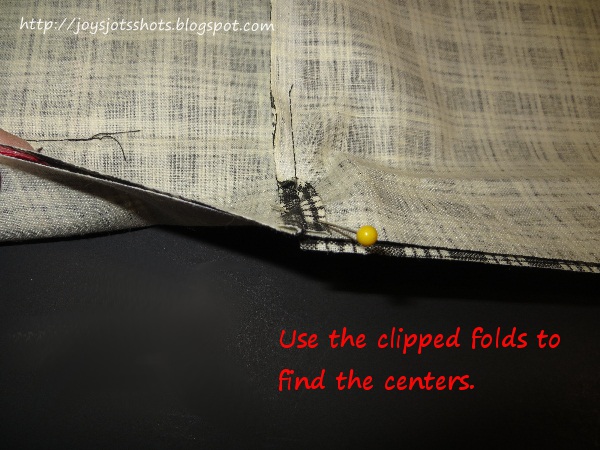
Match Stitch seam to center fold.
If you want handles on your bag,
cut the 2 inch strip and fold edges.
Folding is faster than turning for me.
All the double stitching on the handles will make a VERY strong handle.
So now they have their text, notebook, pencil and something to keep it in.
************************
Sharing at several Linky Parties.
Thanks to the FREE programs:
possibly used for this post
GIMP for cropping & other digital effects
Photoscape for downsizing & watermarking photo


Super cute project! Thanks for sharing great tutorial!
ReplyDeleteHave a wonderful week!
Hugs and love from Portugal,
Ana Love Craft
www.lovecraft2012.blogspot.com
Looks like a great bag!
ReplyDeleteWhat a great bag and tutorial!! Thanks for sharing.
ReplyDeleteFreemotion by the River Linky Party Tuesday
Another quick bag to try. Thanks!
ReplyDeleteGreat idea to make lining and exterior from the one piece of fabric. Well done, Joy!!!
ReplyDeleteFeatured today, Joy...
ReplyDeleteEven I may be able to make this! Thanks for the tutorial.
ReplyDeleteGreat tutorial! I'd love if you'd link up to The DIY'ers! http://homecomingmn.blogspot.com/2013/09/the-diyers-29.html
ReplyDeleteThanks for the invitation Kayla & I gladly will. I also accepted your invitation last week and linked up the 7 Shirt Quilt. Glad you stopped by the blog again.
DeleteWhat can I say, your tutorials are great!
ReplyDeleteThanks so much for sharing on Tutorial Thursdays Linky Party.
Your tutorial will be featured tomorrow :)
x
Natalie
Marigolds' Loft
Thank-you so much Natalie. I'm honored!
DeleteGreat tutorial! I'll be featuring you on The Clever Chicks Blog Hop this week! Please feel free to gram a Featured button!
ReplyDeleteKathy Shea Mormino
The Chicken Chick
http://www.The-Chicken-Chick.com
What a thoughtful bonus for those in your class. Great tutorial too. So glad you shared this on BeColorful.
ReplyDeletep