You'll find this post at several Linky Parties. Please check them out for some great ideas.
Misspelled a name when I embroidered a towel, so I used the towel to make a neck roll.Measured the width of the towel and cut a lining that long with a width of about 8". Sewed one end of the lining and up the long side.
Cut the bottom off of a plastic cup to use as a funnel to put rice into the tube.
The first time I filled it too full because it would not lay snug around my neck. Removed rice until it did.
Also, because it's not filled to the brim, I could serge the end closed.
I wanted to make the outer layer (the towel) so that it could be removed and laundered. I cut the towel piece about 9" wide (1/2 inch seams). The length of course was already determined by the width of the towel.
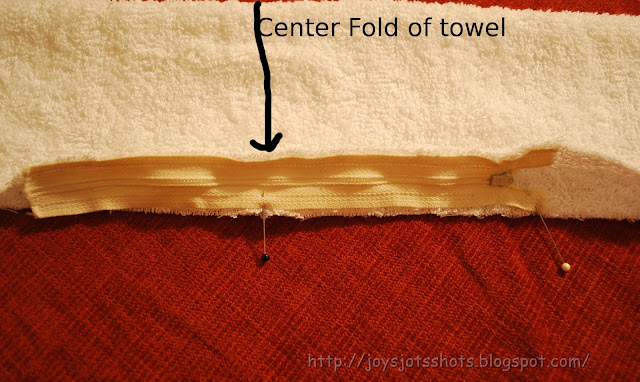
I unzipped the zipper and sewed each side separately, not the traditional way when sewing a zipper into a garment. Note: A lot of the zippers I use, came from old clothing before I discarded them. That was before the days of Goodwill. I still keep an eye out for clothing that can provide a lot of notions in one garment such as zippers and buttons.
First, find and mark the center.
I finger pinned as I machine stitched using the zipper foot.
Sewed all the way to the end of the zipper tape.
I unzipped the zipper and sewed each side separately, not the traditional way when sewing a zipper into a garment. Note: A lot of the zippers I use, came from old clothing before I discarded them. That was before the days of Goodwill. I still keep an eye out for clothing that can provide a lot of notions in one garment such as zippers and buttons.
First, find and mark the center.
I used one pin to mark center and where I began stitching.
I finger pinned as I machine stitched using the zipper foot.
 |
| I used the center guide line in the zipper to help sew straight and held the edge of the zipper to the edge of the fabric. |
Closed zipper
Matched center of zipper to center of towel.
Opened zipper for easier sewing.
I know I should have put on the regular foot, but the zipper foot worked ok.
Turned right side out
before sewing the ends. Since the ends are finished,
I just top stitched the ends on the outside.
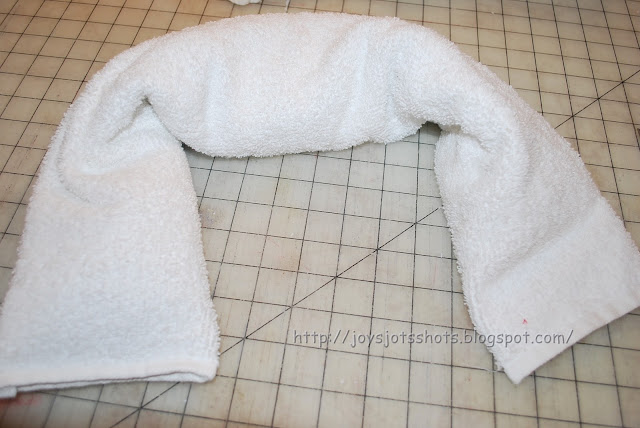
Inserted the rice bag and enJOYed!
I tested it in my microwave 1 minute at a time to determine the best time & after staying in the frig, it will stay cold for a while to use as a cool pack. I gave one as a gift with a note warning not to wash the rice pack but noting the cover could be removed & laundered, or they would have rice for supper.


the pictures are perfect..especially for a novice like me!
ReplyDeleteThis is a great tutorial!! TFS!! Stopping by from Fireflies and Jellybeans linky party and your newest follower.
ReplyDeleteHere is what I shared this week: http://craftybrooklynarmywife.blogspot.com/2012/01/my-first-amp-cover.html
Who wouldn't want one of those? Thanks for sharing on Motivated Monday at BeColorful
ReplyDeletePam
Even using the cup as a funnel is a great tip!!! Easy to follow tutorial for making the neck roll...
ReplyDelete