Lydia's Tshirt Quilt for Graduation
I said I'd never make another Tshirt quilt after my first
which was my last.
It was so heavy with a layer of batting and backing,
thus so hard for me to manipulate.
Too much time and money was spent on using
light weight interfacing
only to have it give me tremendous fits
breaking my thread when I quilted it.
After some thought, FB quilt group discussion & a few You Tube Videos,
I decided to save a bunch of time using my serger,
no batting and no cotton backing.
After sorting through and choosing 20 Tshirts, I divided them into shirts with nothing written on the back
and those that did have something.
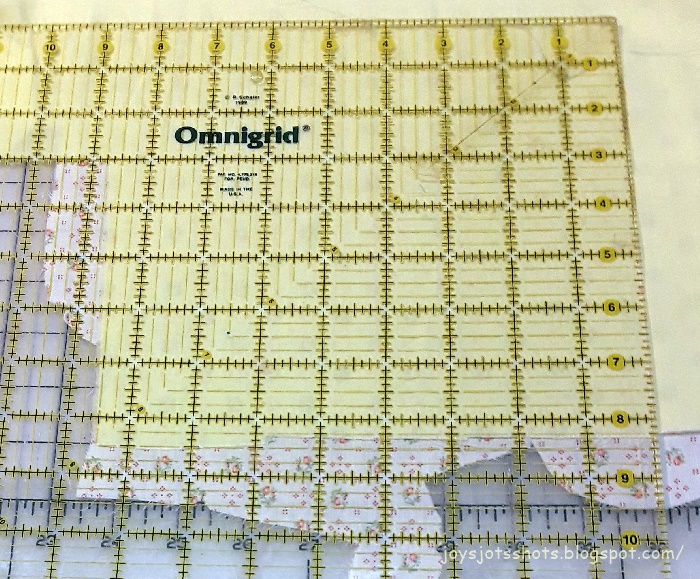
Using my 12½ inch ruler,
I quickly cut straight through both layers to the back
on the plain back shirts.The front would be used for the front of the quilt,and the back for the back of the quilt.
If something was written on the back
and didn't line up with the front,
then I cut up the side to cut
front and back separately.
The front and backs were laid out together.
So what you see here is actually the front and back of the quilt.
Since no interfacing, spray starch or any sizing of any kinds were used, I decided on the serger which I used in making knit garments years ago.
The serger differential feed was set on 1.50
A 4 thread 3.0 stitch was set.
(I used scrap tshirt fabric for testing the stitch.)I'm not a pinner, but I used a ton for this project just to make sure I didn't stretch the fabric.I stitched along the edge for a 1/4 inch seam. At this point, I made adjustments to make sure the edge came together
which didn't happen in the picture above
so it was my last chance to get it even. I did use an extra pin at intersections making sure it wasn't in the path of the needle
and especially the blade.The front and back were worked on simultaneously. The right sides of the front and back were placed together
and serged around the edge, again using a ton of pins.
About a 10 inch opening was left in the middle of the bottom gray square
in which the quilt was turned inside out.
Then using my sewing machine, I stitch a 1/4 inch topstitch with a stitch length of 4.0.
Light gray thread was chosen.
I also did an extra hand stitching to finish off the opening.The label was made and stitched on before the topstitching occurred, while I could still get through the opening.
Seems like I never can remember to add this to the back
before I put the layers together. Duh....
A bag to hold, carry and present the quilt was made from
left-over tshirts.
Official graduation is tomorrow. Congratulations Lydia.
A girl of my own heart will be off soon to become a teacher!
Update:
I forgot to show a picture of the back of the quilt.
Lydia sent me a picture to post.