Monday, March 12, 2012

A REAL Scrappy Quilt- Part 2

You'll might find this post at several Linky Parties. Please check them out for some great ideas. 

From Part 1 of "A Real Scrappy Quilt," all squares had been sewn into one long strip.  Forgive me Aunt Francis.  I know you were an awesome artist of beautiful quilts who believed the entire quilt should be stitched by hand.  I do good to get one done with a machine and no hand stitching.

The long strip was folded accordion style to lay on the table so each end of the strip could be put together without a twist occurring. 

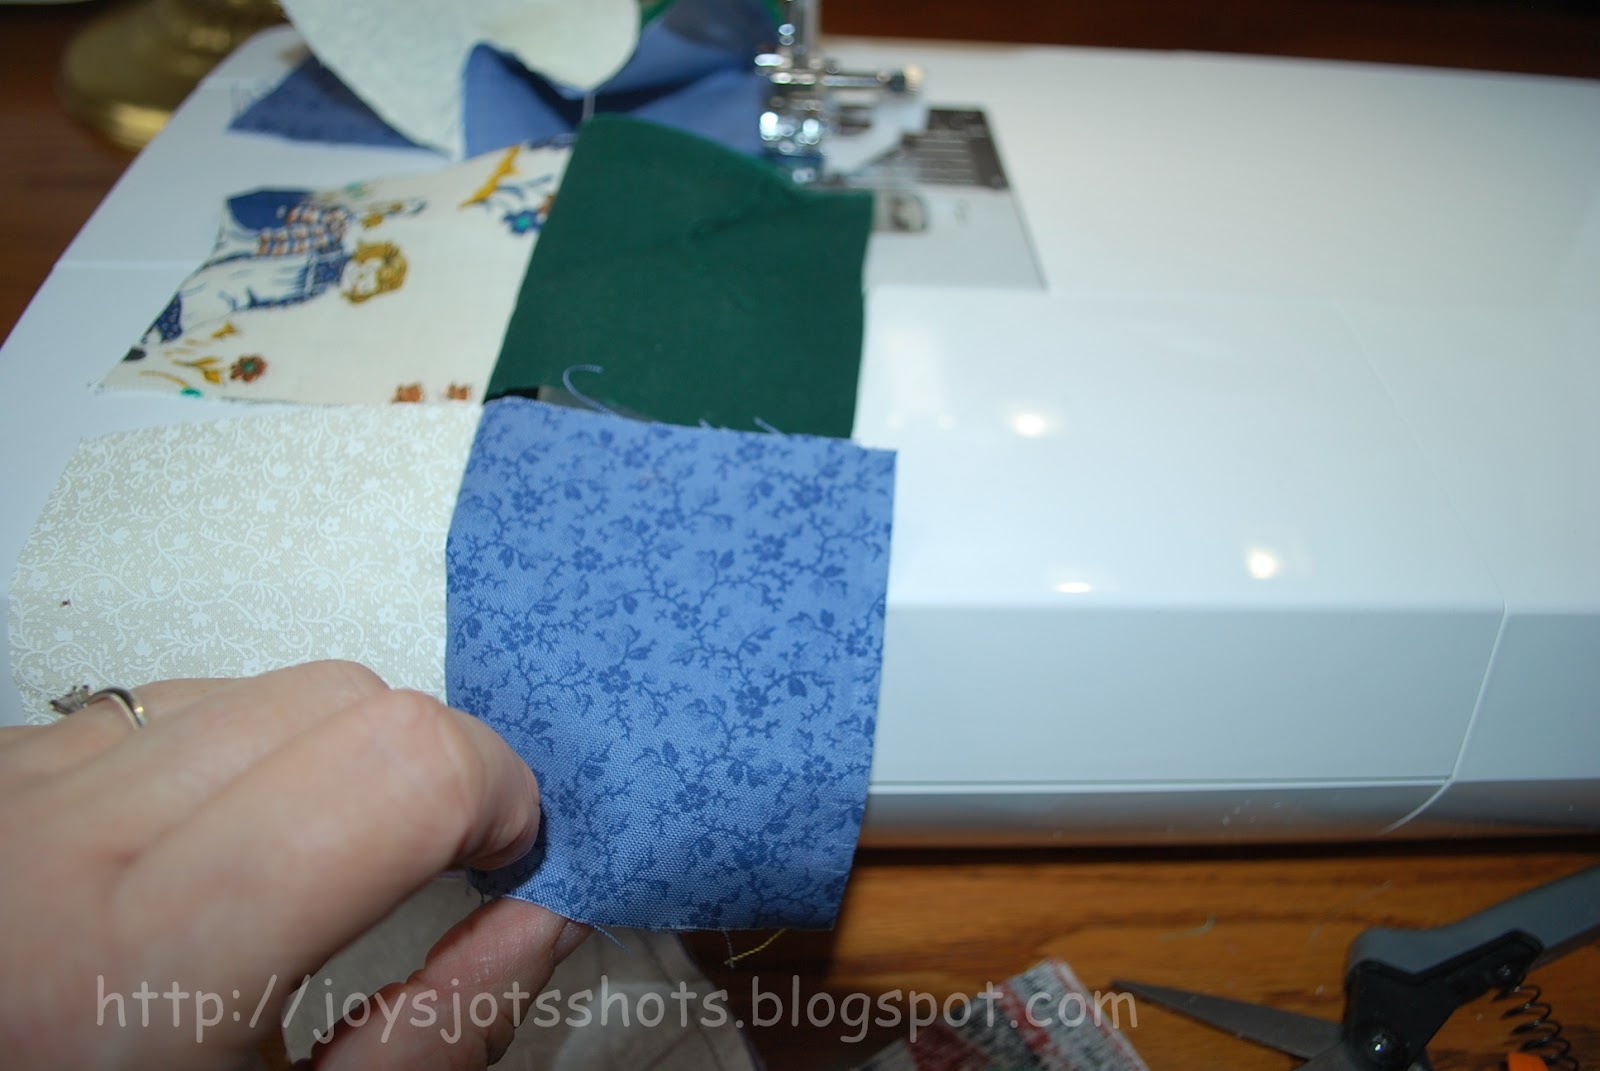
To begin sewing the seam of the long strip, the squares were offset on purpose to actually make sure the seams didn't seem to attempt to meet.


 See the orange/white piece between the piles?  That may or may not be the center of this long strip.


After cutting this fold, once again there is one long strip now two blocks wide.
It is folded accordion to stack on the table.

 The accordion stack is placed on it's side and each end is pulled out, with seams outward and then opened.  This seam wasn't ironed open.  A good quilter would have done that?


  I'm guessing by now, you know how the top will be finished.  Part 3

Sunday, March 11, 2012

Sunday Shot/s of the Week- Daffodils

Saturday Yard Walk- 3-10-2012
You'll might find this post at several Linky Parties. Please check them out for some great ideas.


Posting @

Saturday, March 10, 2012

A REAL Scrappy Quilt- Part 1

You might find this post at several Linky Parties. Please check them out for some great ideas. 

 
For this very scrappy quilt, I ended up making up my process as I went.  In education over the last 15 years, we've done this a lot and said we were building the plane as we flew it.  I enJOY the creative feeling I get from this process.  Sometimes it's serendipity, sometimes not.  In many ways, I do like what turned out in a different way than what my goal intended.  The goal here was to make a rugged baby's quilt.

Since I took a LOT of pictures, I'll break down this project into several posts.

Last fall a Cousin from Arkansas sent me scraps of fabric to make a quilt for our "Orphan's Quilting Project."  In that box were several squares already cut.  I studied them for a while trying to decide how to use them. 


I could realize no theme of color and the variety of numbers didn't create a design.  So, I dumped them all in a basket, and mixed them up.


I drew them out blindly 2 by 2 and stitched them in a continuous stitch (didn't cut them apart as I stitched them.) The only time I would throw one back in was if it was a duplicate or a repeat of one of the very previous piece.

 Next, I spread out the pairs, still not cut apart and stitched pairs together as they came in the row.  As you can see, the pieces were put together as randomly as possible. 


 When you finish connecting the row of pairs, then you have a twisted mess!


 Because now you have 2 sets of threads that haven't been snipped.


 Since things are so twisted now and I can't lay anything flat to sew a seam, I decided to start snipping.

 
Do you think you know what the next step will be?  
Be sure to check out all 3 parts of the post to get the entire tutorial.
  Part 2               Part 3