

The sweat pants were of the era when the leg bottoms had stretch rib knit knit cuffs.
I put those cuffs to use on this hat and top.
Hope this tutorial inspires you to recycle.
***************************
1. Cut off the rib knit cuffs leaving stitch line intact.

2. Cut apart at the seam.

3. Now cut off the former stitching line as close to stitch line as possible. Cleaner cut to do it now than from the sleeve in step 1. Using scissors helps me to control a close cut.

4. Then I clean trim with the rotary cutter and ruler, because I can now lay it flat.

5. Cut off and even the ends with right angle.

6. Open flat. Do not iron as you will use the center crease as guide line.

7. An 18 inch doll does not need the complete width. Cut along center line.

8. Fold one piece in half and serge to neckline and sleeve of shirt. Don't use a pattern, just stretch slightly as you are sewing on to neckline and cuffs so the bands will be smaller than the openings. Cut off excess, then stitch side seams.
Note: Use any pattern you desire. I used the one found at Strictly Homemade and notice it doesn't even use neck and sleeve bands.


The fabric for the top came from Mother's soft, white fuzzy pants. Stretch fabric clothing is easier for little hands to put on dolls, I think.
9. Since there were 4 pieces of stretch knit made, there's plenty leftover for the hat. Following the Strictly Homemade hat pattern, the band pattern wasn't used, but rather just stretched the knit a bit as I sewed. Be careful not to stretch so much that it won't fit around the dolls head.
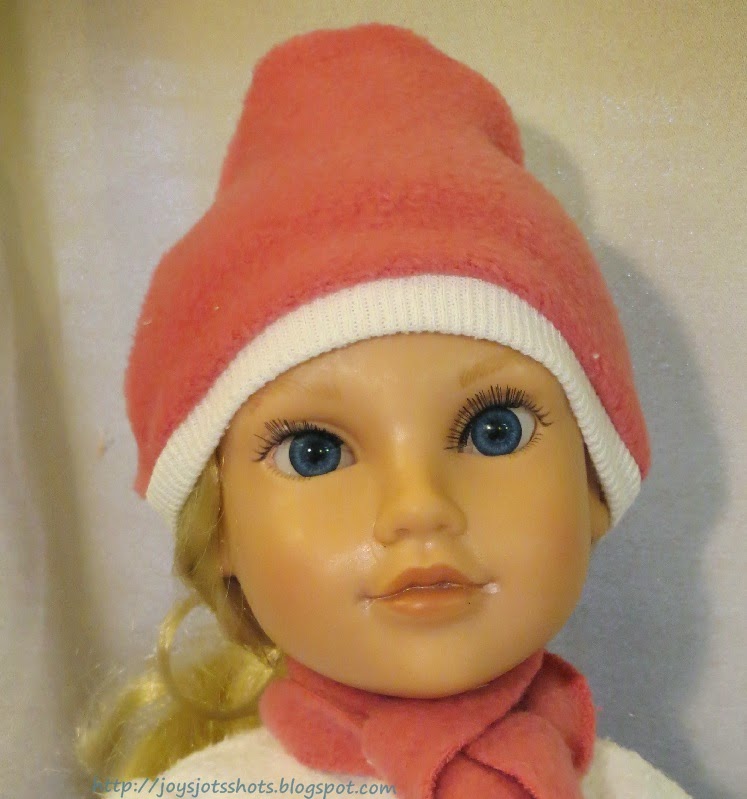

Note in the picture above, the shirt was turned around and used more like a jacket.
**********************************
Sharing at several Linky Parties.
including
http://ohmyheartsiegirl.com/
including
http://ohmyheartsiegirl.com/
Thanks to the FREE programs:
possibly used for this post
GIMP for cropping & other digital effects
Photoscape for downsizing & watermarking photo
PicMonkey creating collages used on this page


