
Once one has been sewing for a while, it's hard to realize a beginner might have a difficult time sewing a straight line, because they let the machine take over.
While working with new sewing students last fall, we used several tricks to help them sew a straight line on their 4 inch quilt pieces. Here is one of the tips.
******************
Tuesday Tutorial Tip
******************

If you have a regular ruler,
take a regular sheet of paper and
mark 1/4 inch from one edge.
 Connect all the 1/4 inch marks with a straight edge.
take a regular sheet of paper and
mark 1/4 inch from one edge.


I'd rather use one of my favorite sewing rulers,
that has 1/4 inch marked along the edge
and place that mark along the paper's edge
and mark my line.
that has 1/4 inch marked along the edge
and place that mark along the paper's edge
and mark my line.

Check the measurement on your machine.
We combined this technique with the painter's tape trick.

Then the paper was cut in strips that were about 1/2 inch shorter
than the quilt square to be sewn.
The width of the strip is your choice of something easy to hold.

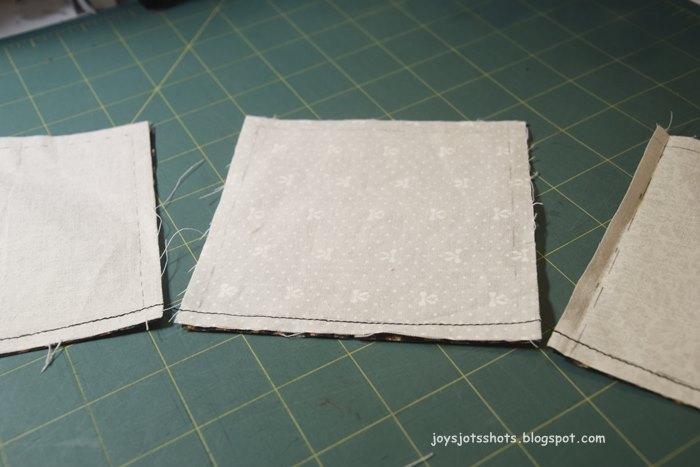
The student lays the paper guide on the square as shown above.
The line on the paper matches the edge of the quilt piece.

Using a mechanical pencil or fine Frixon pen,
mark along the edge of the paper.


Not every piece as to be marked.

We used the assembly line sewing method to save time of
making sure needle was up, pulling out thread to cut,
trimming and starting over so as not to knot up the thread again.
These are things that become frustrating to beginners.
These little 1/4 inch marking tools last a while and are very cheap.
No comments:
Post a Comment
Have a JOYful day!
Leave a comment or an email if you like.
I will enJOY either.
Please LEAVE YOUR EMAIL ADDRESS if you need a reply.