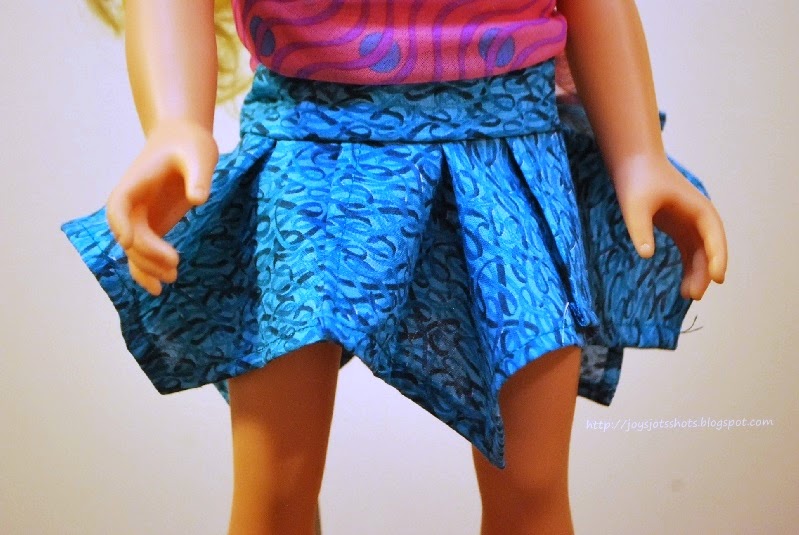
Below you will find the cutting directions and tutorial for putting the skirt together.
********************************************
First cut out 5 five inch squares of fabric. For fun you might like to try a combination of various colors?
For the waist band cut one 3 x 11½ inch strip. You might like a more narrow 2 inch waistband. Also, measure the waist of your doll to see if 11½" would fit best.
Do a double fold hem edge around each 5 inch square. Make the fold no more than ¼ inch each fold. Actually the more like a rolled hem the better looking.
Then cut out a 1 inch corner.
Take waist band piece.
Stitch from end to end of waistband.
Stitch a piece of hook and loop tape at the end of the waistband for easy closer or button/button hole would work.
Done!
**********************************
Sharing at several Linky Parties.
Thanks to the FREE programs:
possibly used for this post
GIMP for cropping & other digital effects
Photoscape for downsizing & watermarking photo
PicMonkey creating collages used on this page


That's really cute. Too bad I don't have any little girls in the family
ReplyDeleteWhat a cute little skirt and a great method!
ReplyDeleteThank you so much for linking up to Needle and Thread Thursday!
:) Kelly @ My Quilt Infatuation
A great tutorial, as always, Joy and such a cute little skirt.
ReplyDeletesuch a cute skirt and your tutorial makes it look easy! Pinned to my What A Doll board -- plan to try it soon!
ReplyDeleteThank you for sharing this lovely tutorial at CAL link party :)
ReplyDelete