Tuesday, May 14, 2013

Mass Producing Gift Bags


 I volunteered to make 50 bags for our Bible School this year.  So I needed to come up with an "assembly line" way to make them.  Here is the result.
Lots of shots here as I tried to use more visual than words, just jots.


20 X 12 in pieces


Width number moves my needle to the left.


To reinforce handles, do a couple of back stitches in center of handle.


You get 6 bags from one yard of 56 inch wide fabric with six 2.5 inch strips left over.
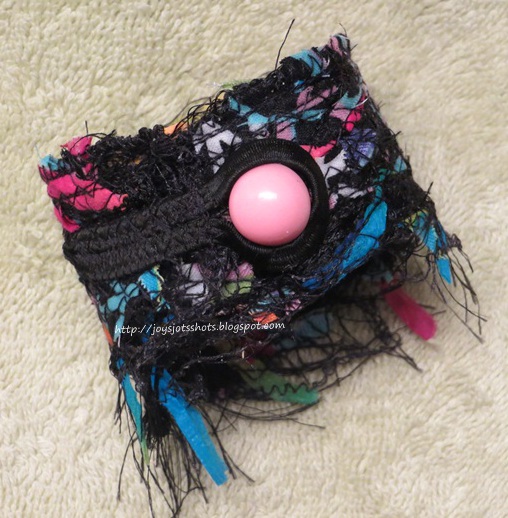
 Looking closer at details:
Notice the back stitch in the center of the handles.


Amazing how some bags turned out to be symmetrical and I didn't even try.

These little bags will hold treasures from VBS.
Children will be provided markers, etc. to personalize their bags.

Fabric which was curtain/upholstery fabric was acquired at Restore for very little money.
I intended to back quilts for orphans with this fabric, but thought this was a good way to use the fabric.

Now if I was smart, I'd use this process while it's fresh in my mind to make some Christmas and birthday gift bags.

Sharing at several Linky Parties.
Thanks to the FREE programs:
possibly used for this post
GIMP for cropping & other digital effects
 Photoscape for downsizing & watermarking photo
PicMonkey creating collages used on this page

Fine Craft Guild and


Monday, May 13, 2013

Brookgreen Gardens ~ Flowers


@ Brookgreen Gardens, Myrtle Beach, SC
Sharing at several Linky Parties.
Thanks to the FREE programs:
possibly used for this post
GIMP for cropping & other digital effects
 Photoscape for downsizing & watermarking photo
PicMonkey creating collages used on this page

Wednesday, May 8, 2013

Teaching Beginners How to Sew- Lesson 2- Bracelet

This lesson helps the new Beginner get use to the pace of their sewing machine.  No worries about sewing a straight line, but rather to get the feel for how much to press the foot to get the machine to go at the right pace.

This bracelet idea came from a "Sewing with Nancy" program.

As with lesson 1, this lesson also is 1 hour long which provides for immediate success, and something to take home as a result of the session.

~~ Sewing Lesson 2 ~~

  For this project you will need water soluble stabilizer about 4 inches wide.
 Go into your waste basket, yes you read that right, and get snippets of fabric.
Spread around on the stabilizer.

You can also use threads & yarns.
I was hoping this encouraged creativity.
Notice all white space was covered, but about half inch was not covered on all edges.
Fold in half and pin.  Yes, pinning practice for the Beginner.
Then randomly sew with a straight stitch and later switch to a zig-zag stitch.
Get some practice done on pivoting and sewing curves.
Stitch over as much area as possible.  
Keep in mind that all fabrics and threads need to be attached to each other by a stitch.  
The white area will be gone later.
Stitch a pony tail holder to one end.


Wrap around wrist and decide where to place a shank button.
We used a shank button, because we didn't want to have a lesson about sewing on buttons today.
Instead, we used a safety pin to attach the button.
The safety pin also allows for adjustment in size later if need.
Now comes the fun part.
Soak the bracelet in warm water to get rid of the stabilizer.
When all the stabilizer has disappeared, roll in a thick towel to soak up water.
 Use a blow dryer to finish drying so your Beginner can wear the bracelet home.
Just in case you missed Lesson 1 you can go HERE.

Threading My Way_Featured

Sharing at several Linky Parties.
Thanks to the FREE programs:
possibly used for this post
GIMP for cropping & other digital effects
 Photoscape for downsizing & watermarking photo
PicMonkey creating collages used on this page