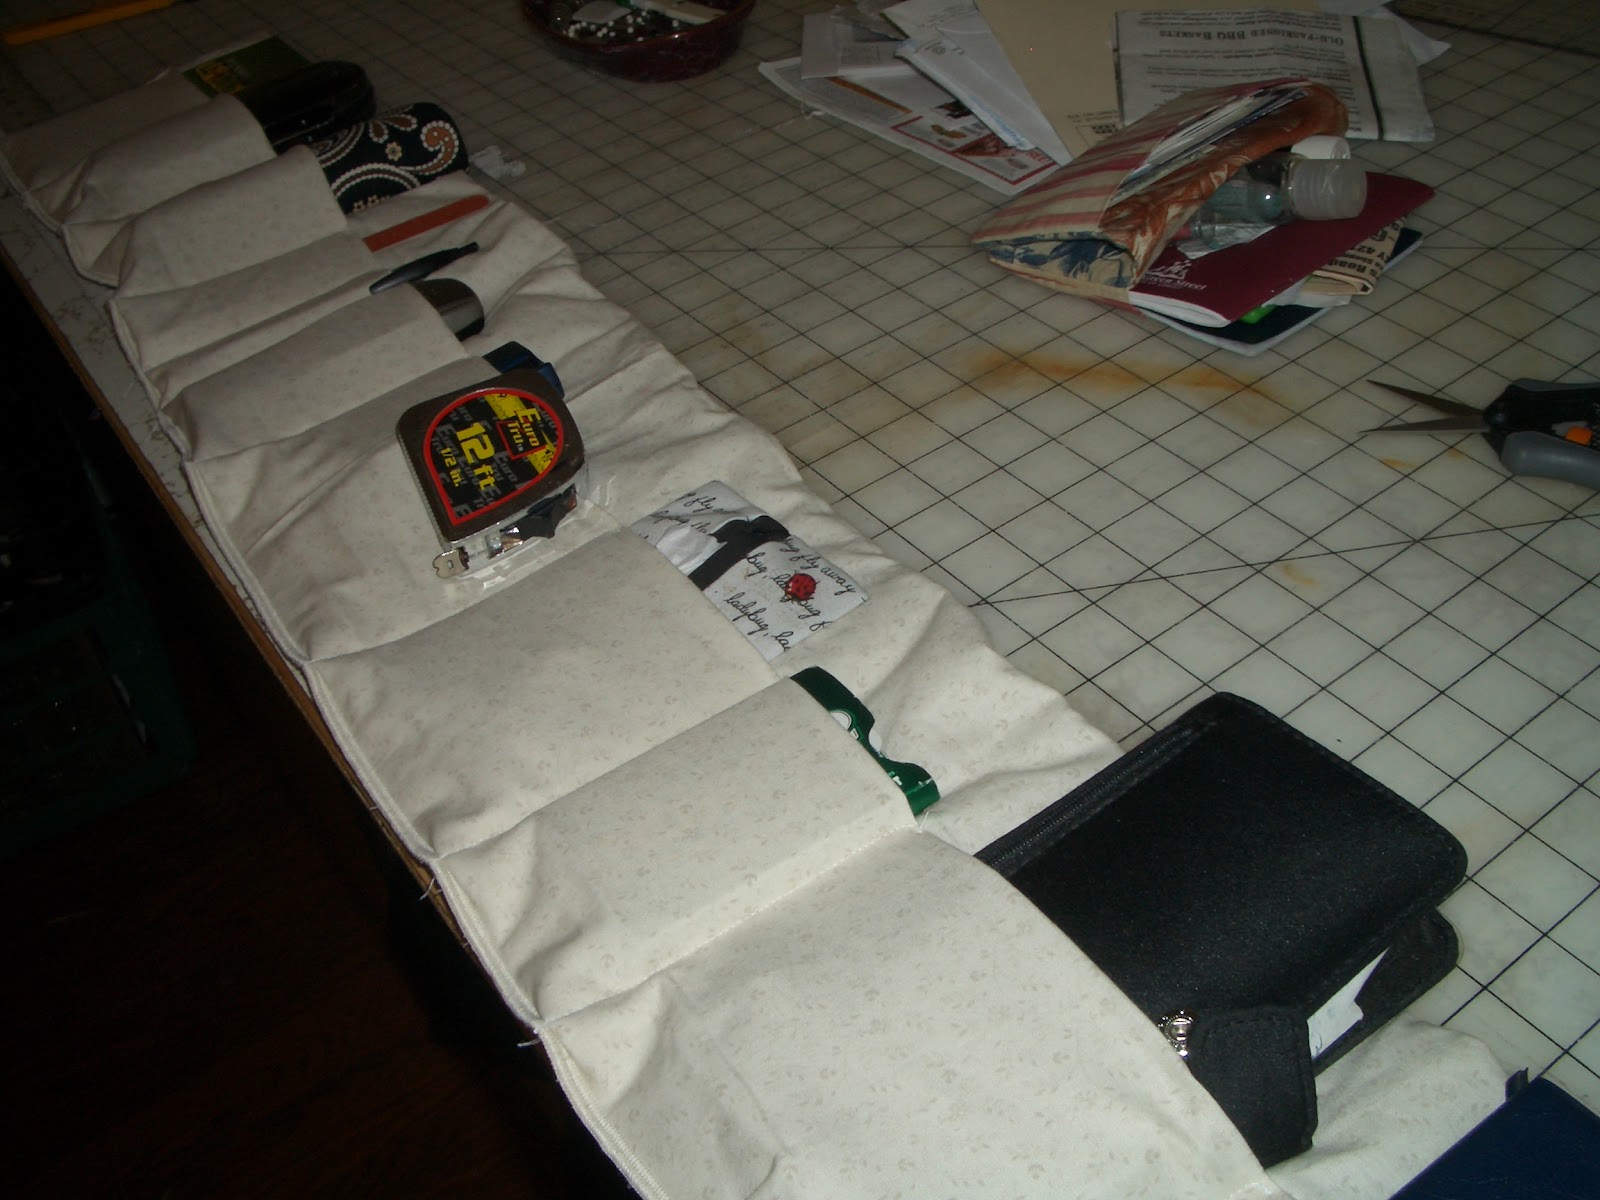
First time to use my new Ellisimo. Did a very simple project. My new, big purse was driving me crazy with all it's space and no way to keep stuff inside organized. So, I made a purse organizer. With rotary cutter, mat, serger and new sewing machine, it took me less than an hour. It would have taken less than that but a beginner has to figure out even simple things like filling the bobbin and threading the machine. The Ellisimo has videos on the machine to show you how!!!
Thursday, September 1, 2011
In the Beginning
Be sure to see Web View for More-- Posted by
JOY @ http://joysjotsshots.blogspot.com/
at
5:00:00 PM
1 comment:
Friday, August 26, 2011
Happy Birthday to Me
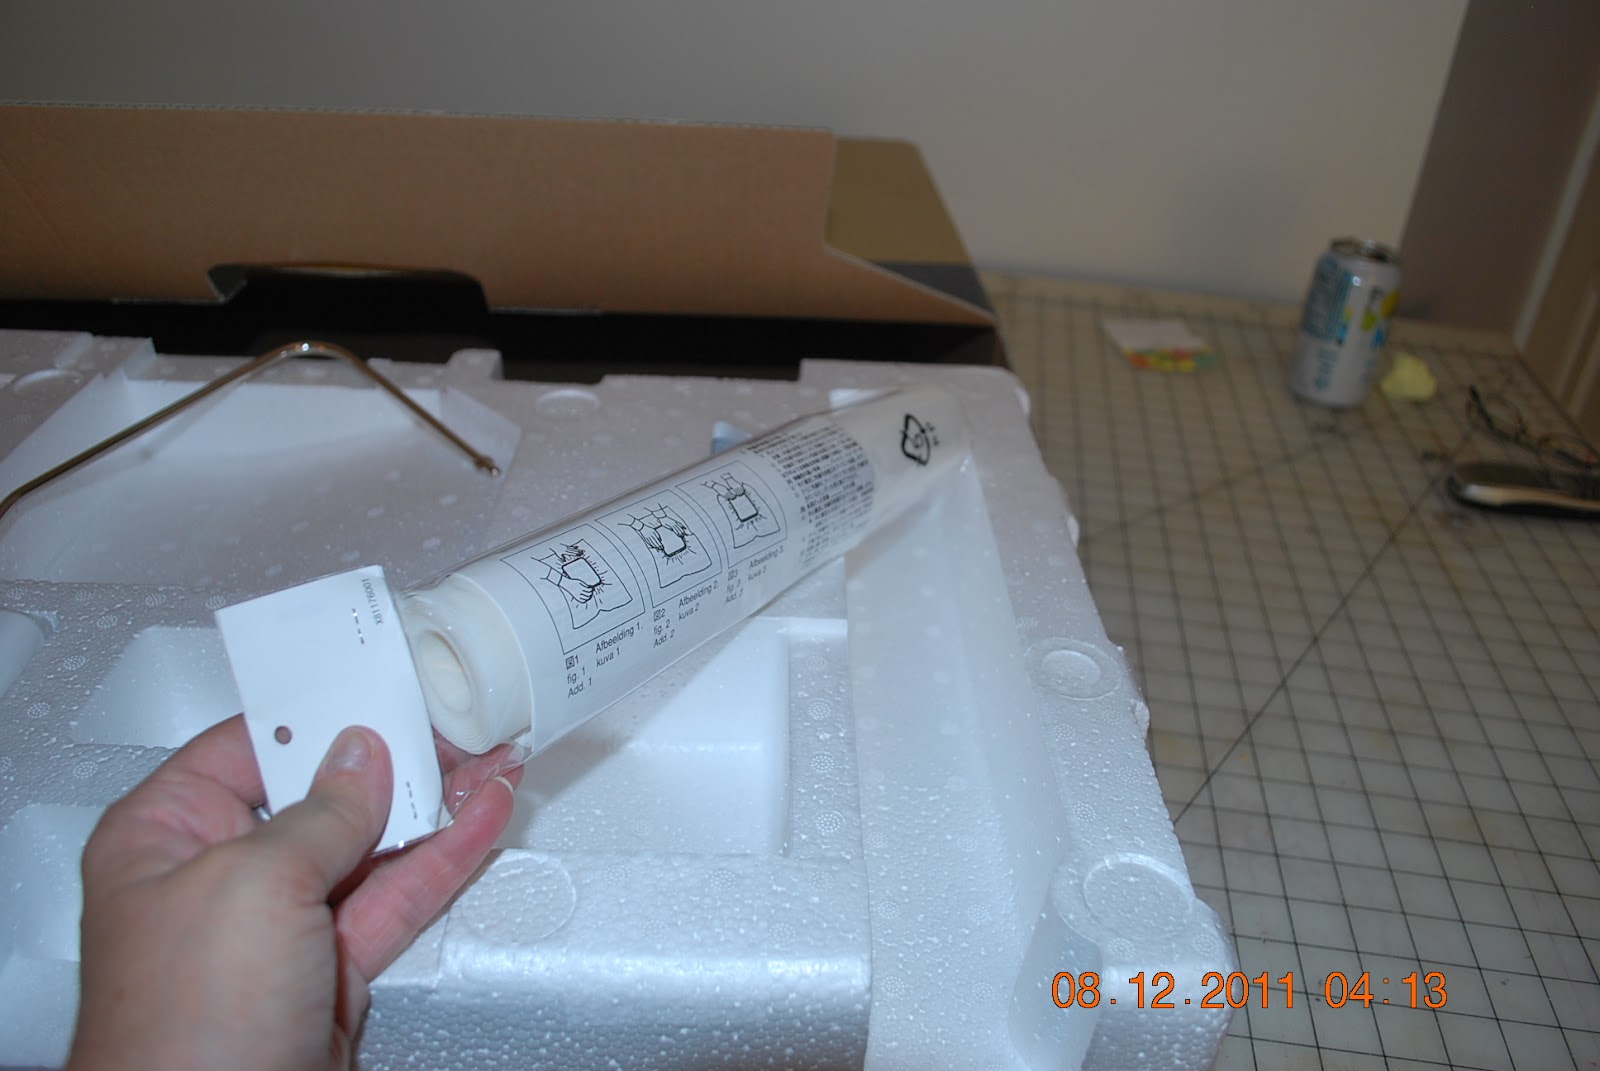
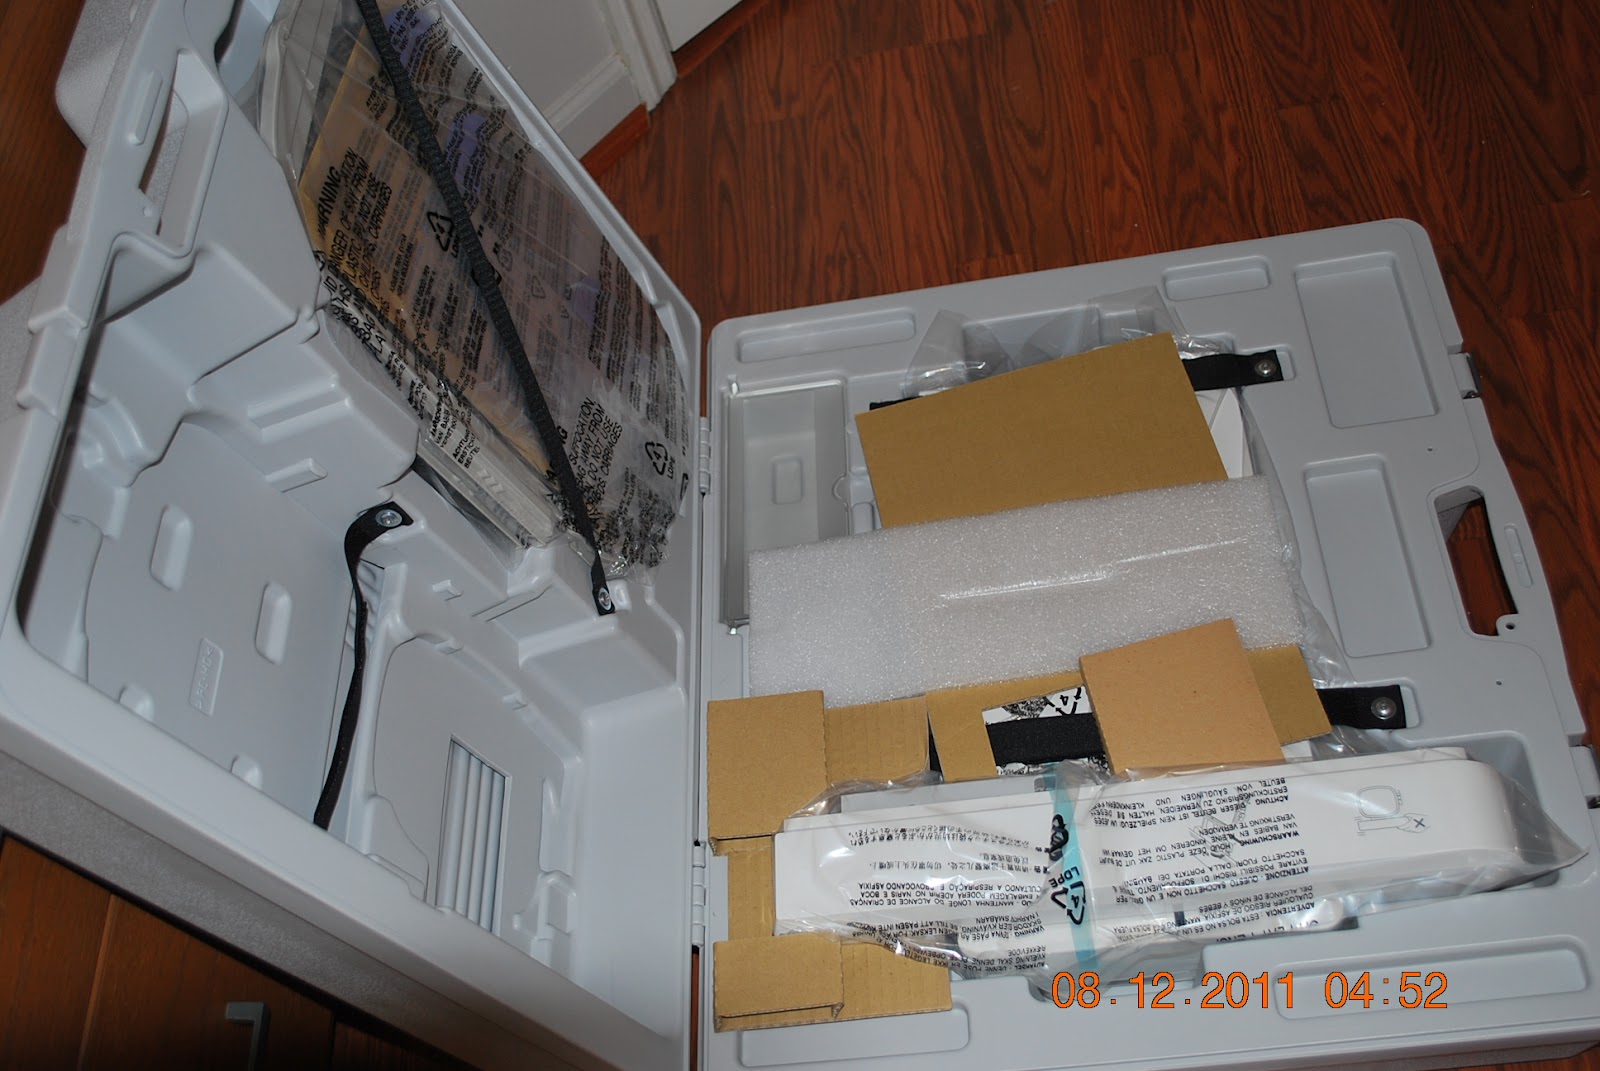
Just a couple of days before my birthday, which was last week, I decided to treat myself to a "Me Birthday Party" and open my brand new Babylock Ellisimo which I bought in June. With all the moving to a new home, I've not had time to open it much less use it. Because this gift to me is special, I took lots of photos to remember this moment. Just as I was getting ready to plug it up, my sister called and said she was taking my Dad to the hospital. So, that put an abrupt end to my Me Party.
There was so much stuff that came with the machine, it had to come in 3 large boxes. This machine costs more than my first car, but as the commercial says, for my retirement, "I'm worth it." I hope to use it for many positive projects to help others.
Be sure to see Web View for More-- Posted by
JOY @ http://joysjotsshots.blogspot.com/
at
3:41:00 PM
No comments:
Monday, August 8, 2011
Dresses for Haiti
Met with a church group today to help sew pillow case dresses for children in Haiti. The goal is 500 by November. Once today's dresses are finished, over 300 will have been made. An assembly line was set up for each step. I took my serger and finished edges across the top, bottom and seamed one side of 35 dresses and so enJOYed it!
| Scraps are saved for quilts. |
| Serge top & bottom (not armhole) and one side seam. |
| Leave wrong side out for top & bottom to be pressed for hemming. |
| After pressing, dresses are sorted by color so the same color of thread can stay on the machine for several dresses of the same color. |
| Top edge is stitched down creating a casing for elastic. (Forgot to take a pic of elastic being inserted.) Hem is also topstitched up at this time. |
| After elastic is inserted, bias tape is penned across the top edges and armholes and then stitched on as one long piece. Bias tape is then cut to create ties on the shoulder. |
| Just as cute as they can be. Now picture the smile of the little girl that will get this dress! |
The lady that coordinate this event was also named Joye (spelled different.) She did an amazing job of organizing the whole setup.
Be sure to see Web View for More-- Posted by
JOY @ http://joysjotsshots.blogspot.com/
at
5:20:00 PM
1 comment:
Subscribe to:
Posts (Atom)