November 11, 2021 is Veterans' Day in the USA! There are a LOT of Veterans in my family including Mr. G, my son-in-law and grand son (not a veteran yet, but still serving) and his wife, Mr. G's grand son.. Then there are a BUNCH of friends. Thank-you ALL for your service.
If you google how to DIY a yard flag, just about all of them will use a machine that looks like a printer to cut out a stencil from its software. As a former tech teacher, here is how I make my stencils for my fabric flags including 3D type lettering.
To make this flag you need the internet, printer with ability to print poster size, regular sheet paper, scissors, scrap fabrics, thread, sewing machine.
******************
Tuesday Tutorial
******************
You will not need to resize. Choose your printer's Poster feature to print this clipart. It will print out on 4 sheets you will later put together.
Either folder under or cut off excess from one sheet.
Tape or glue together sheets.Then cut out picture.
Another way is to cut out picture from each sheet first,
the put the pieces together.
Either way, your end result is the cut out without using a stencil cutting machine.
REMEMBER you will not see tiny details from across the yard.
Use the pattern to cut dark fabric.
I found my sniper scissors were easiest to manipulate for this job.
My background was 26½ x 13½ inches.
Your background should accommodate your flag pole.
The white strip is 3½ inches wide, the way the scrap came to me.
Be careful to allow for at least a half inch seam allowance under feet.
If you don't have a piece large enough for background,
piecing fabrics together to make a background might work?
Making 3D Letters
I estimated the letters need to be 2½ inches high. For years from back when I made bulletin boards,
I have free hand cut my letters.
I start by cutting out rectangle pieces the height of the needed letter,
and width depending on letter.
If you can't free hand cut your letters,
then find a font you can upsize and print out on your computer.
My go to place to download fonts is DaFont. When you find a font you like, click on download, save to desktop,
open the folder you can find on your desktop, click install.
That font will always be there.
You can now delete the folder you placed on your desktop.
Open a Word Processor like the free Open Office,
and type out the letters in the size you need.
Print and cut out by hand to use as a pattern on your fabric.
To make the 3D type letter,
lay the original letter cloth on a fabric which is darker color or
a highlighting lighter color like yellow.
Cut the layers together.
Then off set the letters.
Before stitching down letters, making sure the raw edge of white strip is placed evenly
along the edge.
I placed mine 1½ inches from the edge.
Raw edge applique all pieces
(stitch around edges without turning under).
I used a standard machine foot.
Free motion stitching could be used as well.
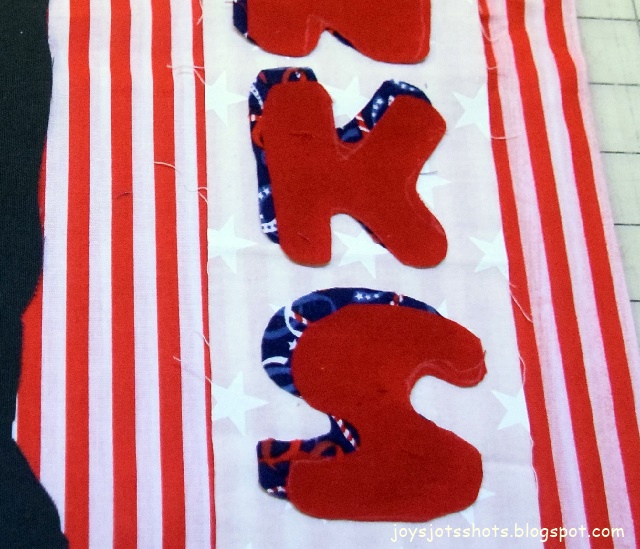
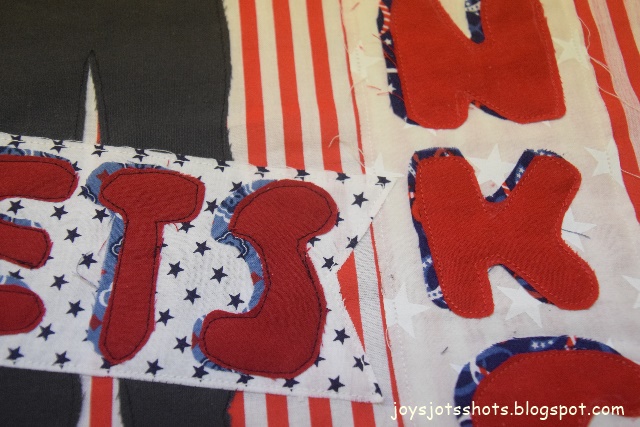
Below is a close up of edge stitching on all the pieces.
Notice the shadow effect the dusty blue gave these red letters.Could add a shadow piece behind the little blue starry banner as well.
Again, REMEMBER, stitches will not be noticeable from across the yard.
When you have scraps,
you can keep creating.
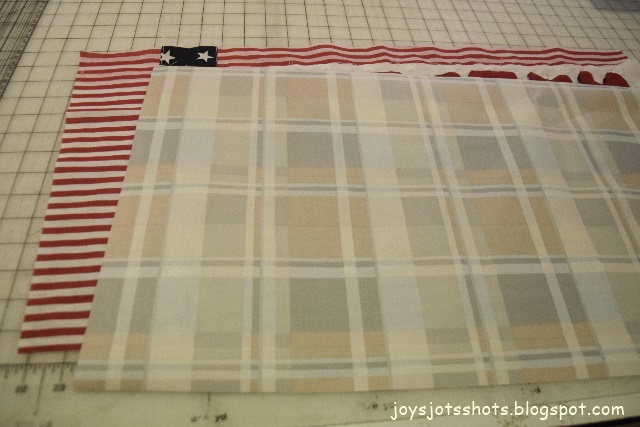
A 3 inch strip is added about 4 inches from the top (this picture is taken after the seam at the top was stitched.)
This piece was not raw edge stitched.
A quarter inch was turned under and top stitched on long edge,
not on ends.
The result is a 2½ inch strip across the top.
The length of the background fabric can be doubled
which would later be folded for the back of the flag.
If there isn't enough fabric,
then cut a 26½ x 13½ inch piece (or whatever size of your flag)
to match the front of your flag.
Most DIY flags use one layer of fabric.
I like 2 to cover the stitching.
This is some curtain fabric I bought years ago for about 5$ for the roll.
Wait! Before you think crazy is going on here,
the wrong side of this fabric is being used for the back side of the fabric.
I'm using the whiter wrong side of the fabric.
So the wrong side is placed on the front of the flag.
Stitch the 2 pieces together across the top.
To prep for the channel to slide on the flag pole at the top,
Press open the seam.
Snip ½ inch in at the 2½ inch mark from each side of the seam
as shown above.
Double fold and press.
Do this on the other side as well.
Top stitch along the edge.
Do this on the other side as well.
Stitch front and back together as shown above.
Press all edges.
Mark 2½ inches from the top
across the flag as shown above.
This is marking the stitching line for the flag pole channel.
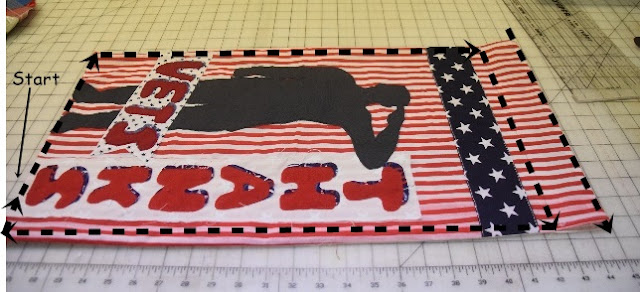
Top stitch about 1/8 inch from edge.I started at the bottom just at the beginning of the opening.
This top stitching will be closing that opening.
Notice the top stitching will come across the top
along the line you just marked 2½ inches from the top.
Last top stitch a scant 1/4 inch across the top.
This finishes your yard flag.