While taking a peak at other sewing studios via video on You-Tube, a hostess mentioned a mug organizer that someone gave her. After researching a bit, I found that Simplicity Patterns actually has a pattern. However, it is a curved pattern and uses bias binding. I stay away from bias binding if at all possible.
Of course being me, I thought there must be an easier way to make one of these. I think these could make nice Christmas gifts for anyone with a desk.
****************************
Ex: My mug measured 4 inches tall with a circumference (around) 10½ inches. I suggest don't worry about small fractions except adding seams.
So I cut:
*inside/outside pieces rounded 10½ =11 x 4x2+½=8½ inches (yes pic shows it short, oops).
*inside pockets 11+2=13 x 8½-2= 6½ inches
*outside pockets 13+4=17 x 6½+½= 7 inches
It has been determine, an "outside pockets" unit can replace the "inside pockets" unit.
Measurements revised 12/10/2015
To evenly divide the pocket section to match outside piece, fold outside pocket piece in half hotdog style first, then fold it and the outside piece in half & press, then again & press and then again. The pieces will be creased into 8 sections. You might want to chalk the line if the creases won't stay.
With raw edges meeting, match the crease lines and pin.
Pin the edges together.
Either make tucks or pleat the extra fabric in between pins & press.
Stitch around raw edge of pocket. At this time, I stitched on all edges, so as to hold fabric stable for future stitching.
Take inside pocket piece, fold in half hotdog style, then in eighths like the outside pocket was done.
Inside pockets provide more shallow pockets because of space inside mug.
So only a slight tuck needs to be pinned.
I slide my fingers from each pin to pull in the extra fabric.
Again, stitch around all raw edges of inside pocket piece.
Next, matching crease lines, stitch along all creases.
Stitch each crease line starting at raw edge & ending about 1/8 inch from fold
with a zig-zag stitch set at 5.0 width and 0 length.
To make the ties you could use ribbon or fabric.
Make the ties whatever way suits you, but make them very narrow. My piece of fabric is one inch wide so I fold in about 3/8 in. then folded over the soft selvage edge 3/8 over that. I let the fabric speak to me and it wanted the soft selvage to be seen.
Cut into 4 equal pieces.
Measure distance from top of mug to top of handle
&
from the bottom of the mug to bottom of the handle.
Pin ties in place.
Remember to fold in half so you'll know how far down to pin the ties from the top edge.
THEN the next step is where we do away with bias binding!
Lay the piece flat.
Pin the facing right sides together.
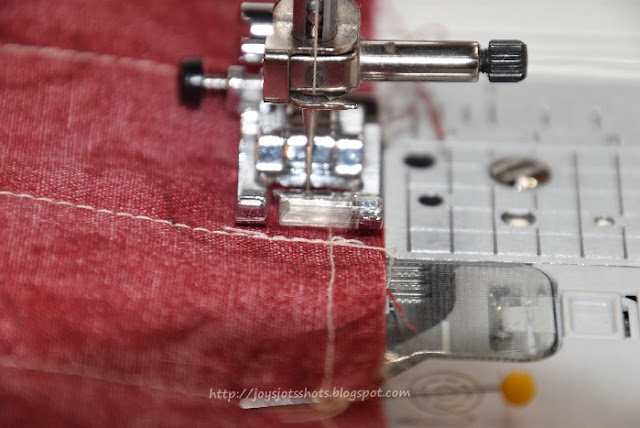
Turn over and stitch on the side where you can see the stitching so you can be sure to stitch inside the previous stitching. I place double pins to remind me where to stop and start to leave an opening for turning the piece inside out.
My multi-purpose foot gives a generous 1/4 when I travel along the edge of my foot. Notice the stitching will be inside the previous stitching.
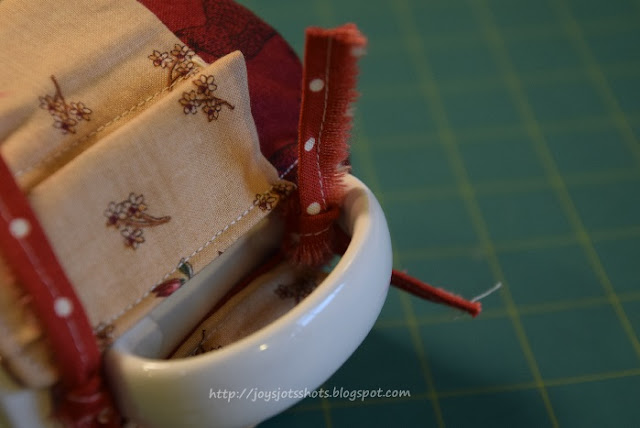
Turn right side out, fold in opening to equal the seam, then top stitch all around to close in the opening which will be inside the cup and won't be seen anyway. I used my Edge stitching or Joining foot with my needle in left position to help my top stitching be a bit more accurate.
Wa La! No bias binding needed!
No pattern needed!
I also didn't use batting which I felt would take up more space inside the cup.
I decided to tie under the handle in both places to help stabilize more & be out of the way.
The inside pockets were plenty big,
and the outside pockets certainly add more storage space.
I think I'll make more for my other storage mugs.
& maybe some for gifts?
********************************
Updates & Tips for the Mug Organizer including Standard Measurements
Thanks to the FREE program
Photoscape for downsizing & watermarking photo & other alterations to pictures.


