Here's how to make a skirt for that special little one when you don't have any measurements.
***************
*A Tutorial Tuesday*
It does help if you have a vintage pattern, or in my case an old pattern that came in size 1. When my girls were 1 year old, I remember the pattern sizes pretty much went with their age.
The waist measurements on the chart on the back can help.
However, to cut my rectangle pieces I used measurements from this gathered skirt pattern piece which included an elastic waistband allowance. You can see here the rectangle measurements including seam and for a size 1 skirt was approximately 11 inches tall and 14x2= 28 inches wide.
For the ties, I wanted to be able to tie a bow, so I almost doubled the length and just cut a 1 inch strip across a 45 width piece of scrap fabric. I did not cut on the bias because I didn't want stretch.
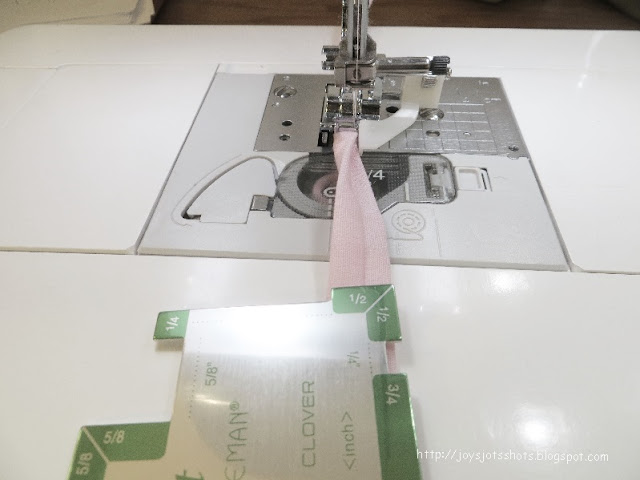
The half inch wide ties seem to large for a little 1 year old, so I folded it in half and topped stitched the edge to make a quarter in wide tie.
A 3/4 inch wide elastic was used for the waste band. The top of skirt pieces were turned and pressed accordingly allowing for stitching without catching the elastic.
One tie was cut in half and stitched to about 5 inches of elastic. The 3 inch piece did give enough extra stretch.
At the top of each corner of each piece, cut in 1/2 inch about 1 inch in. This is allowing an opening for the ties.
Double turn 1/4 inch then 1/4 inch again, and top stitch along the edge.
The ties were aligned to the middle of each skirt piece and tacked down. I didn't want them sliding out. You might want to skip this step?
I like to turn and pin over the tie so I don't have to thread the tie through later. Remember, it's already been pressed so you know where to turn.
Then turn back again using the raw edge as a guide. You might get a better view of this method at this old post.
You will be stitching along the folded/raw edge.
Before I stitched, I checked where the elastic edge was under the folded and found I had a 1/4 inch seam allowance which is what I was expecting. You may not need to mark a guideline like I did.
Be sure to keep the ties away from the stitching line.
You can machine stitch and zig-zag or use the serger.
I love the ready made look this technique gives this waistband.
Stitch side seams.
My ties were way too long so I cut to fit and tied a knot in each end. Pulled to about 19 inches like the pattern measurements suggested. I thought about adding a pink ruffle at the hem, but I ended up just turning the serged edge and top stitching.
The leftover ties were used to make more bows.
*********************
Next week: The tank top that goes with this skirt.
****************
Thanks to the FREE programs:
possibly used for this post
GIMP for cropping & other digital effects
PicMonkey creating collages used on this page


