Friday, August 25, 2023

Fun Fri~ C's 2023 Bday Fabric Scrap Card


Its time for grandson's birthday.
He graduated high school this past May as a certified welder.
He loves his job.


His Mother tells me he has saved all the cards I've made him.
That means a lot to me.

Tuesday, August 22, 2023

Tues Tutorial~ Upstyling Blue Jean Shirt


 I saved all, about 5, of Mr. G's blue jean shirts because I believe they NEVER go out of style. Since I was able to wear them, I kept them. Lately, it seems everyone has a blue jean jacket except me. I'm seeing all colors and shades of blue jackets. So I took one of the shirts and altered it a bit to "upstyle" it as seemingly a jacket.

Note, he was a passionate football fan, especially SEC, Go Big Blue. I saw no need to take off the badge. I think it had to do with the slogan of that particular season. Memories, yes.


*****************
Tuesday Tutorial
******************

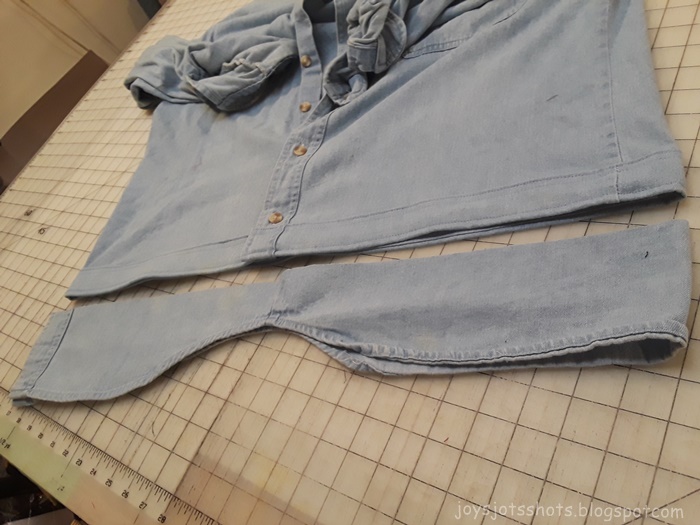
 A vague picture to try to show the shirt tails.

When deciding where to cut off,
be aware of where button/button hole lands
and give seam allowance and band space.
 About 2 inches here.

From the piece cut off,
cut a 3 inch strip.

 Notice how far below the button I cut off the piece.
Then sew to the new bottom
RIGHT side of strip 
to WRONG side of shirt.
You do need a machine not afraid 
of sewing through thick layers.
 
Measure 1.5 inch
 fold UP to the right side
to hide seam.

 Pin to hold in place
Top stitch along edges for desired look
with 2.8 to 3.0 stitch length.
You may want to use thread that matches present top stitching. 


 Now the tails are gone.


The great thing about this is you're able to
cut the shirt to the desired length.
 
So if you can't find a jacket,
go find a second hand shirt and
"Upstyle" it! 
 
********************
This post was shared @


Friday, August 18, 2023

Fun Fri~ Little Grandson Birthday Bag


A church friend gave me some of her fabrics she didn't want anymore.
I needed something to put books in for my Great Grands birthday.
So I sew!


One of my Fabric Scrap Tags.
My grand daughter
now smiles when she picks up these cloth bags
and says,
"I know who this is from."
And it seems they use them. 


Tuesday, August 15, 2023

Tuesday Tutorial~ Memory Shirt Pillow Labels

 Recently I posted the Memory Shirt Pillows made from knit polo shirts. The person that asked me to make them, wanted a label on them to remind her grand children who had worn the shirt. 


*****************
Tuesday Tutorial
******************
I have found the ink in Sharpie pens doesn't wash out like
the Micron pens that lots of the quilting folks had recommended.
After seeing how much a Micron label that I had made for a quilt
had washed out, 
I tried a very fine point Sharpie. 
So far, it has worked great.
 
I first word process the label
using the Comic Sans font
and decide the size I need.
Then print paper copies to trace
onto muslin or a fabric of choice.
 I cut the written piece down to label size.
Must remember to leave quarter inch seam allowance.
The iron on interfacing
is laid sticky side against the written side.
Then stitched around the edge.

A small slit is cut on the interfacing
being careful not to cut through the label fabric.
Turn inside out through this slit
so the sticky side of the interfacing will appear. 
 
Using fingers,
press around the edge and corners.
I had to use a pin to pull out the seam and corners.
 

Iron press the label on the desired place on the pillow.
Thus the reason for using iron on interfacing.
I don't have to use pins to hold the piece,
which can be bulky and harder to stitch flat.
Be sure to follow directions with the
interfacing for the amount of time to iron press the interfacing.
The purpose of the interfacing is to hold in place temporarily.
Stitch around the edge will hole it permanently.


This is the same method I used to make Quilt Labels.