Pages

Church Pages

Fav Blogs

Friday, December 31, 2021

Non Fun Fri~ Christmas 2021 @ Camp Nelson


The MOST horrible, terrible, lonely Christmas for me EVER.
Divorce year was a very close second,
as both happened surprisingly and quick.


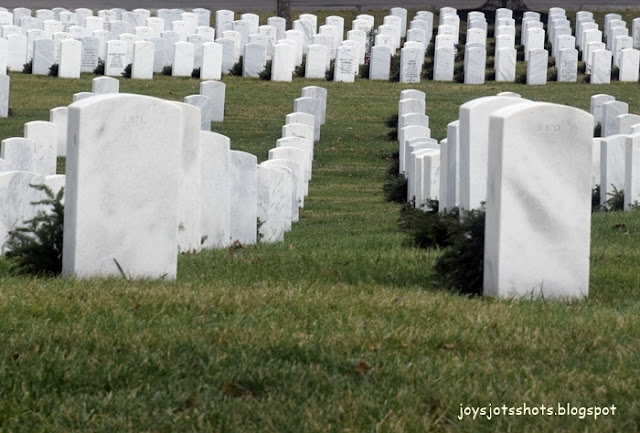
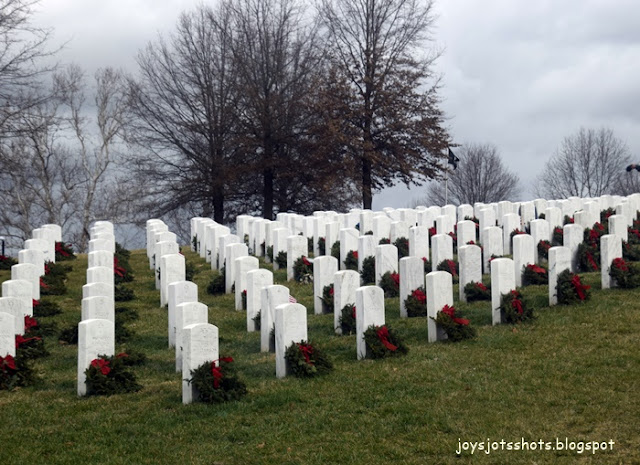
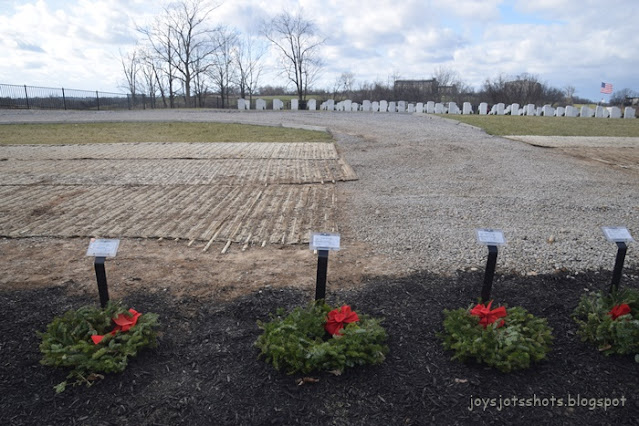
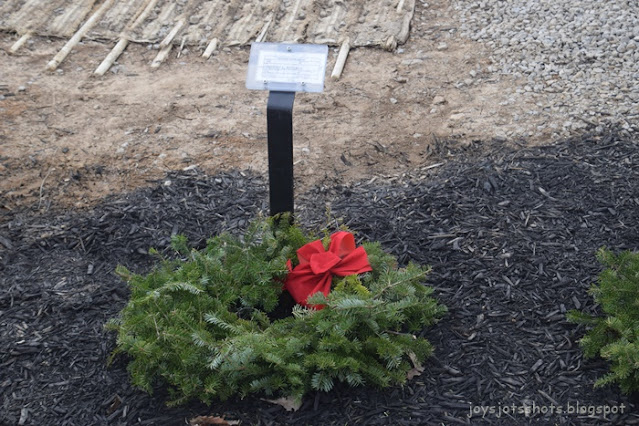
Standing at Mr. G's spot, the following are 360 shots.


See my car

From behind my car.
 
 
Until Nov 16 when things started turning bad,
it was going to be a great year with a 
new grand son in law and
great grand baby.
Then BOOM !
Evil COVID happened.

I don't look forward to 2022,
as I have to clean out Mr. G's house.
Not a Fun Fri thing to do.


Saturday, December 25, 2021

Quilt Block 138E ~ Seven Shirt Quilt- Backing


Seven Shirt Quilt Along- Part5

This is a series of the process of making a
quilt from 7 men shirts.
An idea from "The Thrifty Quilter" blog that has been deleted from the internet.


This post shows how to making the backing from the shirts.

The Backing 
There were pieces of the shirts, like the backs that were not cut into pieces.
Those large pieces and scraps will be put together to make 1 large backing.

 Create a space to lay out the size of backing you need.
My cutting table is in layers of the cutting mat, linoleum, and wood.
I'm able to slide apart the cutting mat and linoleum 
to make a wider work table for this task. 
 For some reason, I enjoy putting scraps together to make a larger piece.
As you lay the pieces,
think of the straightest seams possible.


To close the (vent) slit on the sleeve to be able to use more fabric,
unpick on side.

Cut off excess, turn under end.
Top stitch down the edges.

Stitch pieces together.

At this time, add your label to your backing.

***********
Next, the suggested quilting.


You might also be interested in
Potholders from these shirts

Saturday, December 18, 2021

Quilt Block 138D ~ Seven Shirt Quilt- Border


Seven Shirt Quilt Along- Part4

This is a series of the process of making a
quilt from 7 men shirts.
An idea from "The Thrifty Quilter" blog that has been deleted from the internet.


This post shows how to piece the borders.
 
 
The First Border- Red
 
From the accent color garment, here it's red, use 2½ inch wide strips.
Sew together strips to lay across the bottom and top of quilt top.
Sew strips across the top & bottom .
Sew together strips to lay along each side.
Sew strips to sides of quilt top.
 

Then add 2½ inch wide strips to the sides.

The Piano Key Border
 
 Remember how strip sets were made for the 9 patch.
This time make one long strip set of 4 strips instead of 3
using the 2½ inch wide strips from the 4 dark shirts.
 
Cut the strip set into 6½ inch lengths to make 6½ x 6½ in blocks.
IF you don't want to make 1 long strip set,
just remember the goal is to make strip blocks 6½ square.

Place the 6½ inch strip blocks side by side around the quilt top.
You could measure, but this is easier for me.
Sew the 6½ inch blocks together side by side as shown.
Trim to match the sides.


The Corner Blocks
Create corner block using a pattern of your choice
using the remaining scrap pieces. 


For my first shirt quilt corner blocks,
The pieces cut off from the snowball blocks were pieced together.

Now your top is finished!

*********************
Next, the backing will be made from the shirts as well!


Friday, December 17, 2021

NOT Fun Fri~ Saying Bye


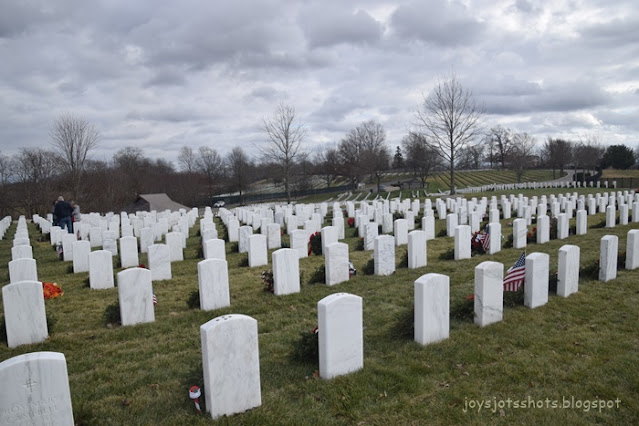
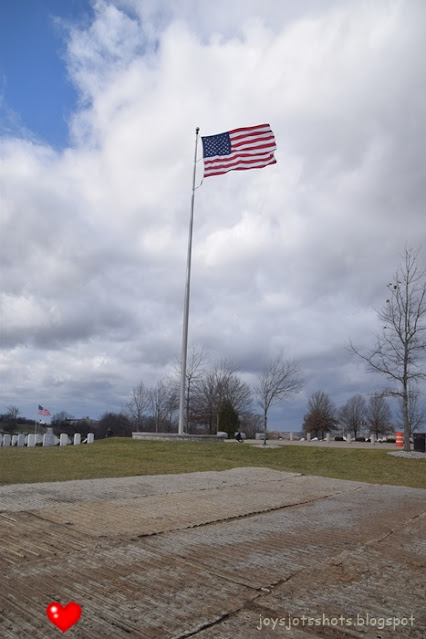
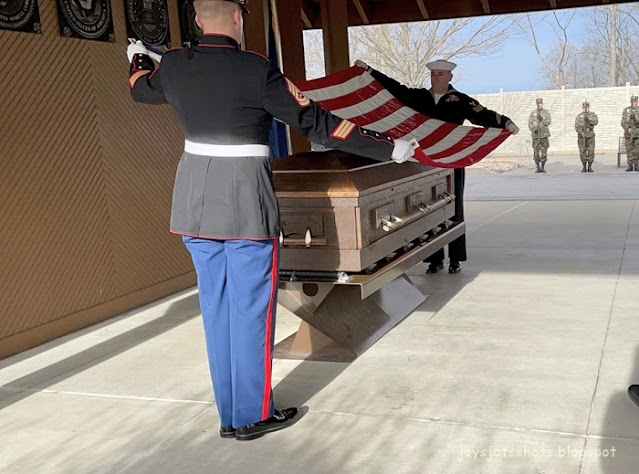
Buried with honors at Camp Nelson, Kentucky
On December 7, 2021
80th Anniversary of Pearl Harbor


We will miss my Sweetie, Greg FOREVER!

Tuesday, November 30, 2021

Most Sad News

 My Sweetie Mr. G passed away at 6:30 this morning from COVID. Its hard for me to breath right now.


Saturday, November 13, 2021

Quilt Block 138C ~ Seven Shirt Quilt- Center of Quilt Top


Seven Shirt Quilt Along- Part3


This is a series of the process of making a
quilt from 7 men shirts.
An idea from "The Thrifty Quilter" blog that has been deleted from the internet.
 

This post shows how to piece together the center of the quilt top.
 
 
The 9 Patch Block
You will need 24 IDENTICAL blocks.
Each unfinished block is 6½ inches square.


Using the 2½ in strips,
make 3 strip sets that are 60 inches long as shown above.
 
Strip set A is 2 different darks with light in middle.
Strip set B is 2 different lights with the highlight color in the center. (Mine is red)
Strip set C used the other 2 darks and the other light in middle.
 
Cut each strip set into 2½ inch strips.
 

 This ruler is my favorite way to cut multiple strips.


Lay out strips has the 9 patch will look.  
All 24 will be identical.
The only requirement for this layout is the highlight color (red) goes in the center.


Square each block.
Make sure you have 24 IDENTICAL blocks.
 

Press.


*******************

Snowball Blocks.

Make 12 IDENTICAL blocks from each light.

Where you put the darks on the corners really matters.
They must match up with the corners of the 9 patch.
 
I used the following method:
Lay the 2½ inch squares to match the corner blocks of the 9 patch block.


 You will do the other light the same way,
but it will later be rotated to match the 9 patch block corners.
 
 
Two of the sides of the 2½ inch block
will match the sides of the 6½ inch block.
Then use your favorite method to stitch from corner to corner
of the 2½ inch block.


After corners are cut off through both layers,
press the remaining part of the 2½ block outward.
Do the other light the same way and you will have 24 Snowballs.
 
*******************
Making the Center of the Quilt
 
 Lay out blocks 6 across and 8 rows.
Follow the pattern you see below, 
making sure corners of blocks match.

 The picture below has the first 2 rows labeled.
Just repeat the pattern.
Sew together.

*******************