Pages

Church Pages

Fav Blogs

Tuesday, April 30, 2024

Tues Tutorial~ Applique with Iron On Interfacing

You don't have to have the wonder stuff with the sticky iron on stuff on the back to do an applique. If you have iron on interfacing, you can applique a simple shape. Here's how. (I also do my quilt labels the same way.)


******************
Tuesday Tutorial
******************

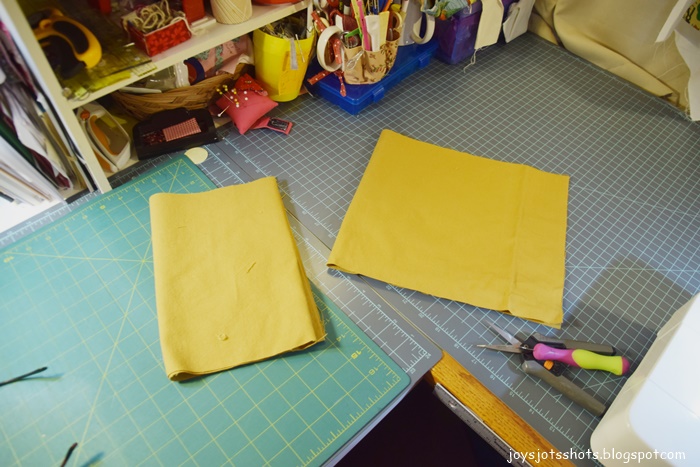
Cut out the shape you want to applique 
on the non sticky side of the iron on interfacing. 
Place the STICKY side against the RIGHT side of the fabric.


If you stitch about 1/8 inch from edge all around
you don't have to trim away or clip
except in deep places like the "v" of this heart.  
Use a 2.0 to 2.5 length stitch.

In the middle of the interfacing, make a slit. 
DO NOT cut close to the edge.


Turn inside out through opening just made.
Now the sticky surface is on the outside on the back of the piece.

Press the edges with your fingers and 
the help of a pin
or poker like my knitting needle
 to pull out the seam.
DO NOT iron the seams out
because of the sticky surface on the back.
 

Position the piece and
iron into place.
The interfacing sticky back will usually hold the piece
in place while top stitching (or hand stitching) all around the edge.
Consider the stitch length to use according to the size and
meticulous turns of the piece.


Saturday, April 27, 2024

Quilt Shot Block 173~Elkhorn Creek QOV Awarded Quilts Spring 2024: Part 1


Someone said that each time a quilt was shown,
 they declared it was there favorite until the next was presented.

Friday, April 26, 2024

Fun Fri~ Draw String Bag Request

A good friend asked for a draw string bag after she saw THIS one.
However, she wanted a larger bag.
She had given me a very large bag of scraps.
In that bag was this one piece. 
It reminded me of a scarf.
It matched this old piece of vest I still had,
and would make for a soft bag. 
I decided to use pretty much the same process
I used for THIS bag last Christmas.
I got out the 2$ bag of faux leather lace to use as the draw string.


Two pieces were cut the width of the bag at the top
by 
3½ inches wide.
 
The pieces was pressed in half lengthwise.
Each end was pressed a quarter inch twice.
3/8 inch was pressed across ONE top edge.
 

Each end was top stitched as shown.
 
 
 At this point on the bag made last Christmas,
the piece was folded in half and
it's 2 edges were serged together with the edge of the bag.
I decided this method was faster than changing the 4 threads on my serger. 

Centers were pinned together along the top edge
with right sides together.
Stitched 3/8 inch seam.
 
Then folded in half and then the 3/8 inch fold,
to cover the previous stitch line.
 

Top stitched along the folded edge
making sure the previous stitching line was covered. 
 
Stitch the 3 inside seams using
the French seam method especially if your fabric will ravel
or serge the seams.
Threaded 2 strings each the length of the top circumference of the bag. 
Threaded from opposite ends and tied so they become draw strings.
I believe this is the size she wants.
If not, I get to make another one which I think is FUN to do.


Thursday, April 25, 2024

Thoughtful Thurs~ Ladies' Discussion Group Bags


About 22 inches by 10 inch pieces.
One made with applique.
One made with a pocket.
See how the iron on applique was done HERE.

The bags were made to hold a Bible and a Composition Notebook for journaling.
Find our Discussion Questions HERE.

Wednesday, April 24, 2024