Pages
Church Pages
Fav Blogs
Wednesday, November 29, 2023
Wednesday, November 22, 2023
Monday, November 20, 2023
Monday Mem 148~DIY Handmade Loops for Buttons & Hooks - An Old Guest Tutorial

I have no idea how I came about this method back in the 60s or 70s. I think I made it up with crocheting in mind, because I did not enJOY stitching on loops that came with the hooks, and I definitely did not like to make button holes even with my machine. The loops work great especially on doll/baby/children clothing, and small opening at the neckline of an adult garment.
For the most part, the pictures will give the directions.
Friday, November 17, 2023
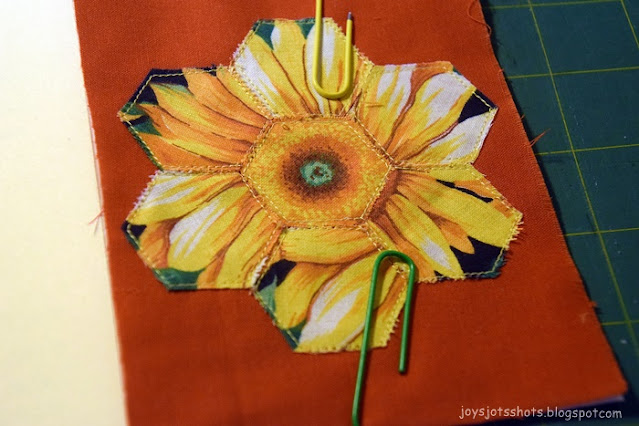
Fun Fri~ Hexie All Occasion Card
Thursday, November 16, 2023
Thoughtful Thur ~ My Fabric Stash Contributing Friends
I am so thankful for my thoughtful friends that think of me when they see fabric piles.
I never say no to anyone that asks if I want their fabric they want to leave their home as in when they clean out their Mother's stash. Thanks Lenita and Carol's children. Also to Laura who moved away and wanted the children of the Christian Academy to use her fabrics as I taught them how to sew. (Unfortunately closed now, but will still teach.)
I've had friends to find fabric and yard sales and grab it for me and GIVE it to me even though they paid a price and refused to let me pay. Thanks Margo
I've had friends to buy a box of fabric from online just for one item out of the box then asked if I wanted the rest. Thanks Edith
I've had friends that just didn't want their fabric or scraps and thought of me. (along with a quilting book). Patty multiple times.
I've had friends to donate fabric, scraps, curtains and sheets for benevolent projects such as face masks and overseas children's clothes. Thanks Patty, Nadine, Lenita and Kathy F.
I've had friends to donate leftover scraps from quilts made. Thanks Earlene multiple times.
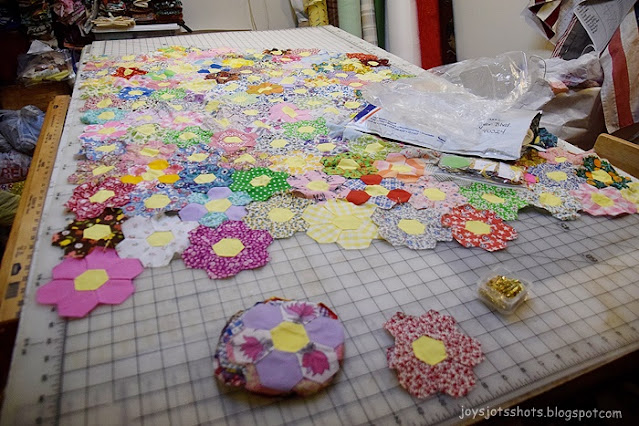
I've had blogging friends that so generously pay for postage to mail me piles and boxes of fabric, and hexie pieces for and entire quilt (see yesterday's post). Thank you Barbara and Kathy (and I think there is another?)
I've had clients to leave me their scraps after I made their quilts or memory quilts. Thanks to more than I can remember.
Then of course for Christmas I've been given bundles of fabric. I remember my daughter gave me the most beautiful shower curtain for the fabric, because she decided not to use it. I've trained her well to think of me/fabric? Thank you Phyllis and Amy.
So when I think I just can't take anymore, I do find a place to stuff them. I'm also motivated to use them up to make more room for my thoughtful friends' gifts.
No, I don't worry about my family getting rid of it all some day. I think they'd rather I be busy and happy right now. I'd also rather give away fabric in an altered sewn up form.
As I give away, it comes back to me, makes me think of Luke 6:38 (Read the EASY version on the You Version app)
"Give to other people and God will give to you. He will give to you even more than you gave. He will fill your pocket until no more will go in. It will be so full that it will come out over the top. Think about how you give to other people. God will give in the same way to you."
I'm so "THINKFUL" OF MY FRIENDS.
Wednesday, November 15, 2023
Saturday, November 11, 2023
Quilt Shot Block 161~ Candy Striped Holly Star Variation for a Veteran's Day Flag
Original Candy Striped Holly Star Designed by Sarah Thomas
Pattern PDF: BH5 – Group 1, Block 9 – Candy Striped Holly Star
Moda blog post: Group 1, Block 9 blog post
Instagram: @sariditty
I actually got brave enough to use the Free Motion Foot to sew on the letters. The stitching isn't perfect, but sure got the job done in about half the time it would have taken using a regular stitching foot.
You can find the rest of Block Head 5 Blocks HERE. They came out every Wednesday. I understand they aren't done yet, but have paused and will be back in January.
Honor your Vet today if you haven't already.
This post was shared on the following linkies:


