Last Sunday  after Church and Chinese Food, (Fa, Ra, Ra, La, A Christmas Story Memory), I finally had my second and last Christmas gathering. One of the gifts I made and gave was to my Son in Law to carry in their wood. It was made from an old pair of jeans, because that's the roughest, toughest fabric I know. It gave my new M7 machine a great workout. Emmie did not fail me. She sewed through these layers like butter. Although, I still took it slow and easy because of past experience with other machines I've had. Here's how I made it.
*****************
Tuesday Tutorial
******************
Just whatever is cut from the both legs of the jeans.
Keep the hem intact.
Yes, you do see hems on both sides,
because I hemmed the edges first before I sewed together.
I had to rip the hem from where I sewed the pieces together
so I could work the seam.
So, I recommend, sew the pieces together first
and Flat Felled that seam.
so the other side of the seam
can fold over and under the other side.
THEN hem the raw edges of the entire piece.
so I could double turn the edges over.
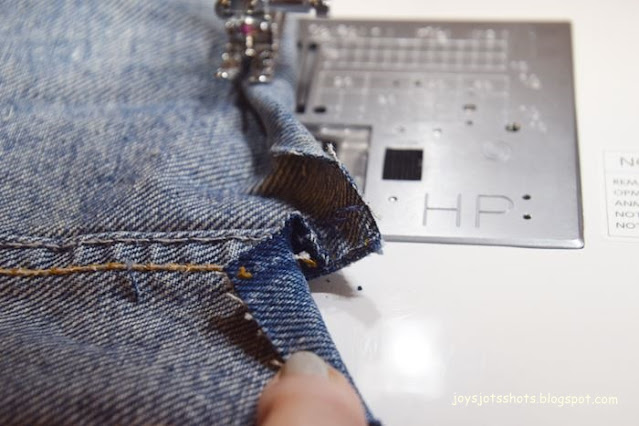
I did use the "Hump Jumper"
that actually came with my machine
to help keep my stitch line straight.
as much of the flat felled seam as possible
and opened it flat.
That worked the best.
Making One Continuous Handle
Determine handle measurement x2.
Then add the measurement of the length of body of the carrier x2.
Cut a pieces of fabric 4 inches wide
to sew together to make the length you need.
I didn't use jean fabric, because it was too bulky.
I had some cotton jean looking design fabric for the handles.
To be able to turn inside out,
I first made one long strip sewing each end closed.
Sew right long sides together
a knitting needle that lost it's mate years ago
and now been with me for years.
and has a blunt enough end that usually
doesn't poke through the seam.
The end cap of the needle keeps it from going all the way in
The end cap of the needle keeps it from going all the way in
or at least easy to grab.
so it will be hidden when sewn on the body of the carrier.
and enough down the side
to sew a seam of the ends together.
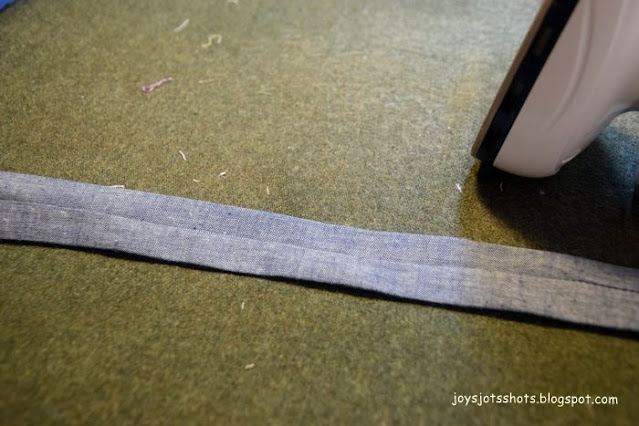
I just pressed
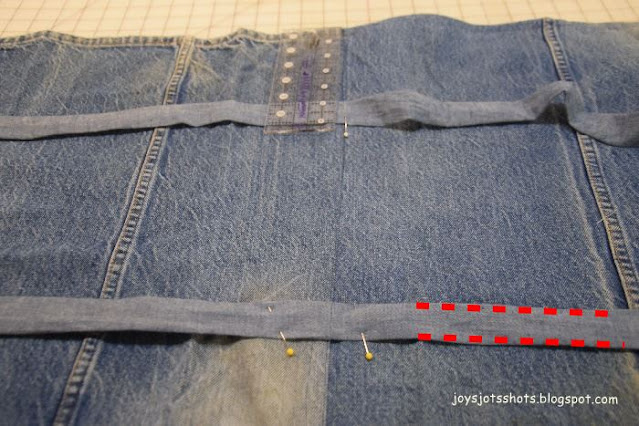
and made sure this section was sewn on the body of the bag,
because sewing on each side of the handle
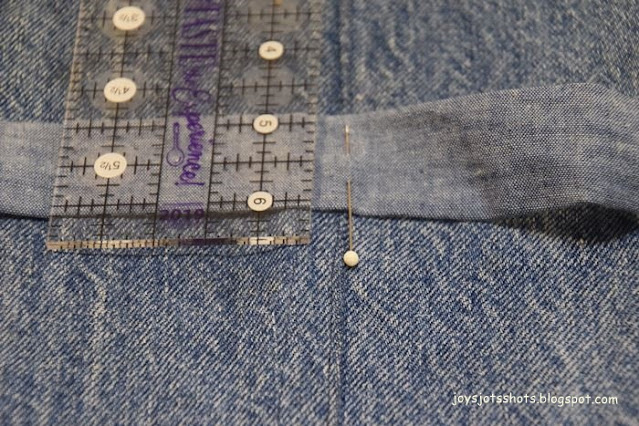
I placed the strap about 5 inches in from the edge.nonstop on the inside and outside edge
of the handle.
I usually use on handles
for much needed strength.
on the ground and lay wood across
the bag.
Lay wood until you get to the point
the handles just come together to carry.
If you're that strong.
I thought it was going to be too late to use it
for their fireplace
since we've had so much spring weather,
but looks like more cold is here.
I had one of these a few years back.
I really liked not having to cradle the splintery wood in my arm
AND
I could carry a LOT more wood with one of these.
Make it as big as you can carry the load,
or a small one for children.
That used to be a chore of mine as a child.
Shared @


Another project that I need to make!! You're going to keep me busy this winter :) Great tutorial, now I need to hunt up some old jeans.... ! I hope you had a good week and thanks for joining in on Monday This and That! xx
ReplyDeleteI really appreciate you sharing your linky. It gives a chance for some of us to get our tutorials out there. Good luck making your carrier.
Delete